hello, it’s me…

long time no blog.

i’m still here.

as always, i have missed this space.

it’s a place that, for just short of 10 years, i have calledmy very own.

sure, i share it with you (if there are any of you left out there that might check back in occasionally), but it’s a place that i come to when i need a place to call my own.

it’s a place to come to share the story of my life.

the ups.

the downs.

the in-betweens.

the projects i’ve worked on.

the things my kids do.

the things i enjoy.

the things i create.

the adventures we go on.

i’ve missed sharing in this space.

this space i call my own.

coming back here to type these words feels like home.

for many years, i would spend naptime, time when the kids were at preschool, and nights after they went to bed editing photos and typing blog posts on my laptop.

i would also sit outside while my kids played, while we watched a movie together, or other times when i could grab a few minutes on my laptop.

part of the reason i haven’t been here as much is because i got a new computer two years ago. it is awesome, but it sits at a desk in a corner.

it’s in a main room in our house, but it’s not portable.

see, home is kind of like that.

home doesn’t have to be one place that you come back to over and over again.

it CAN be that place, but it can also be something that you carry with you.

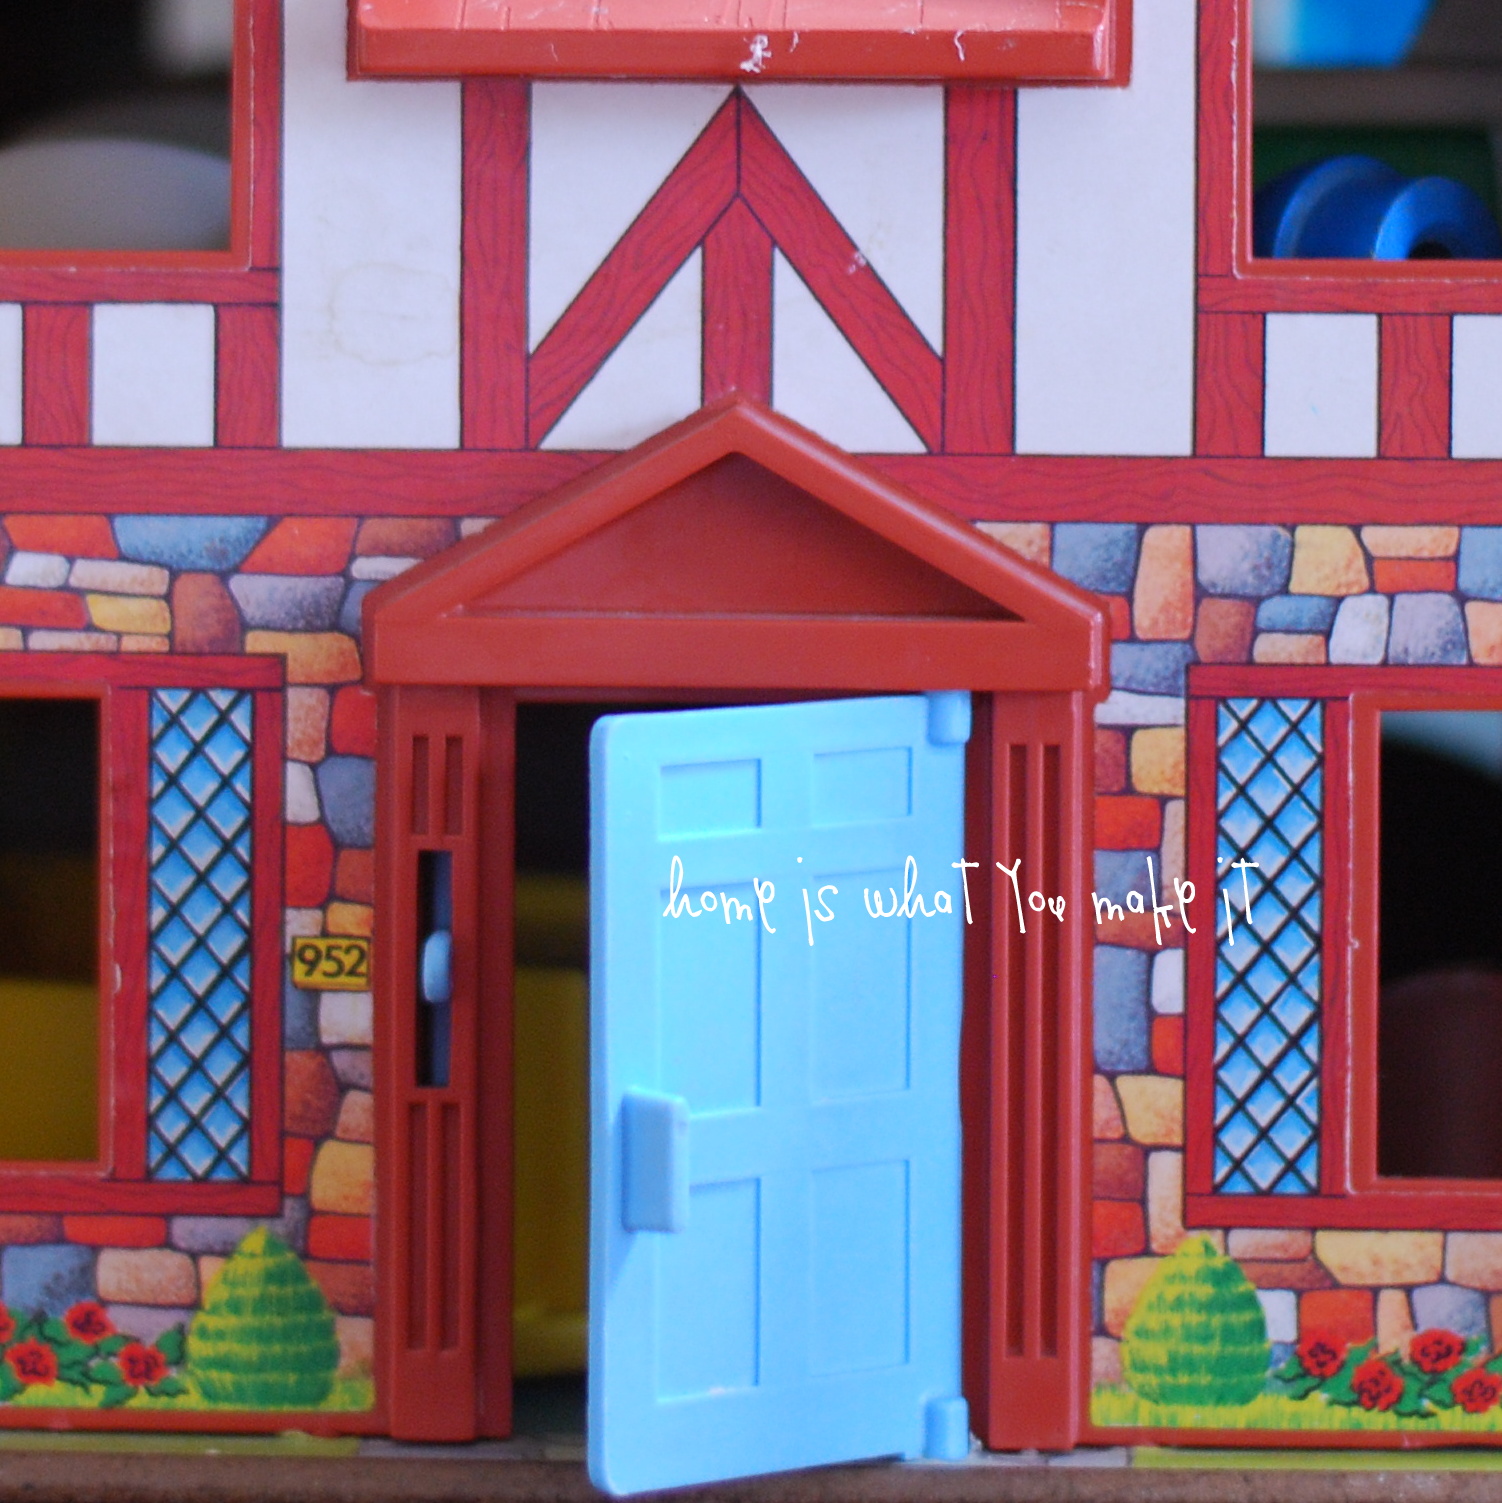
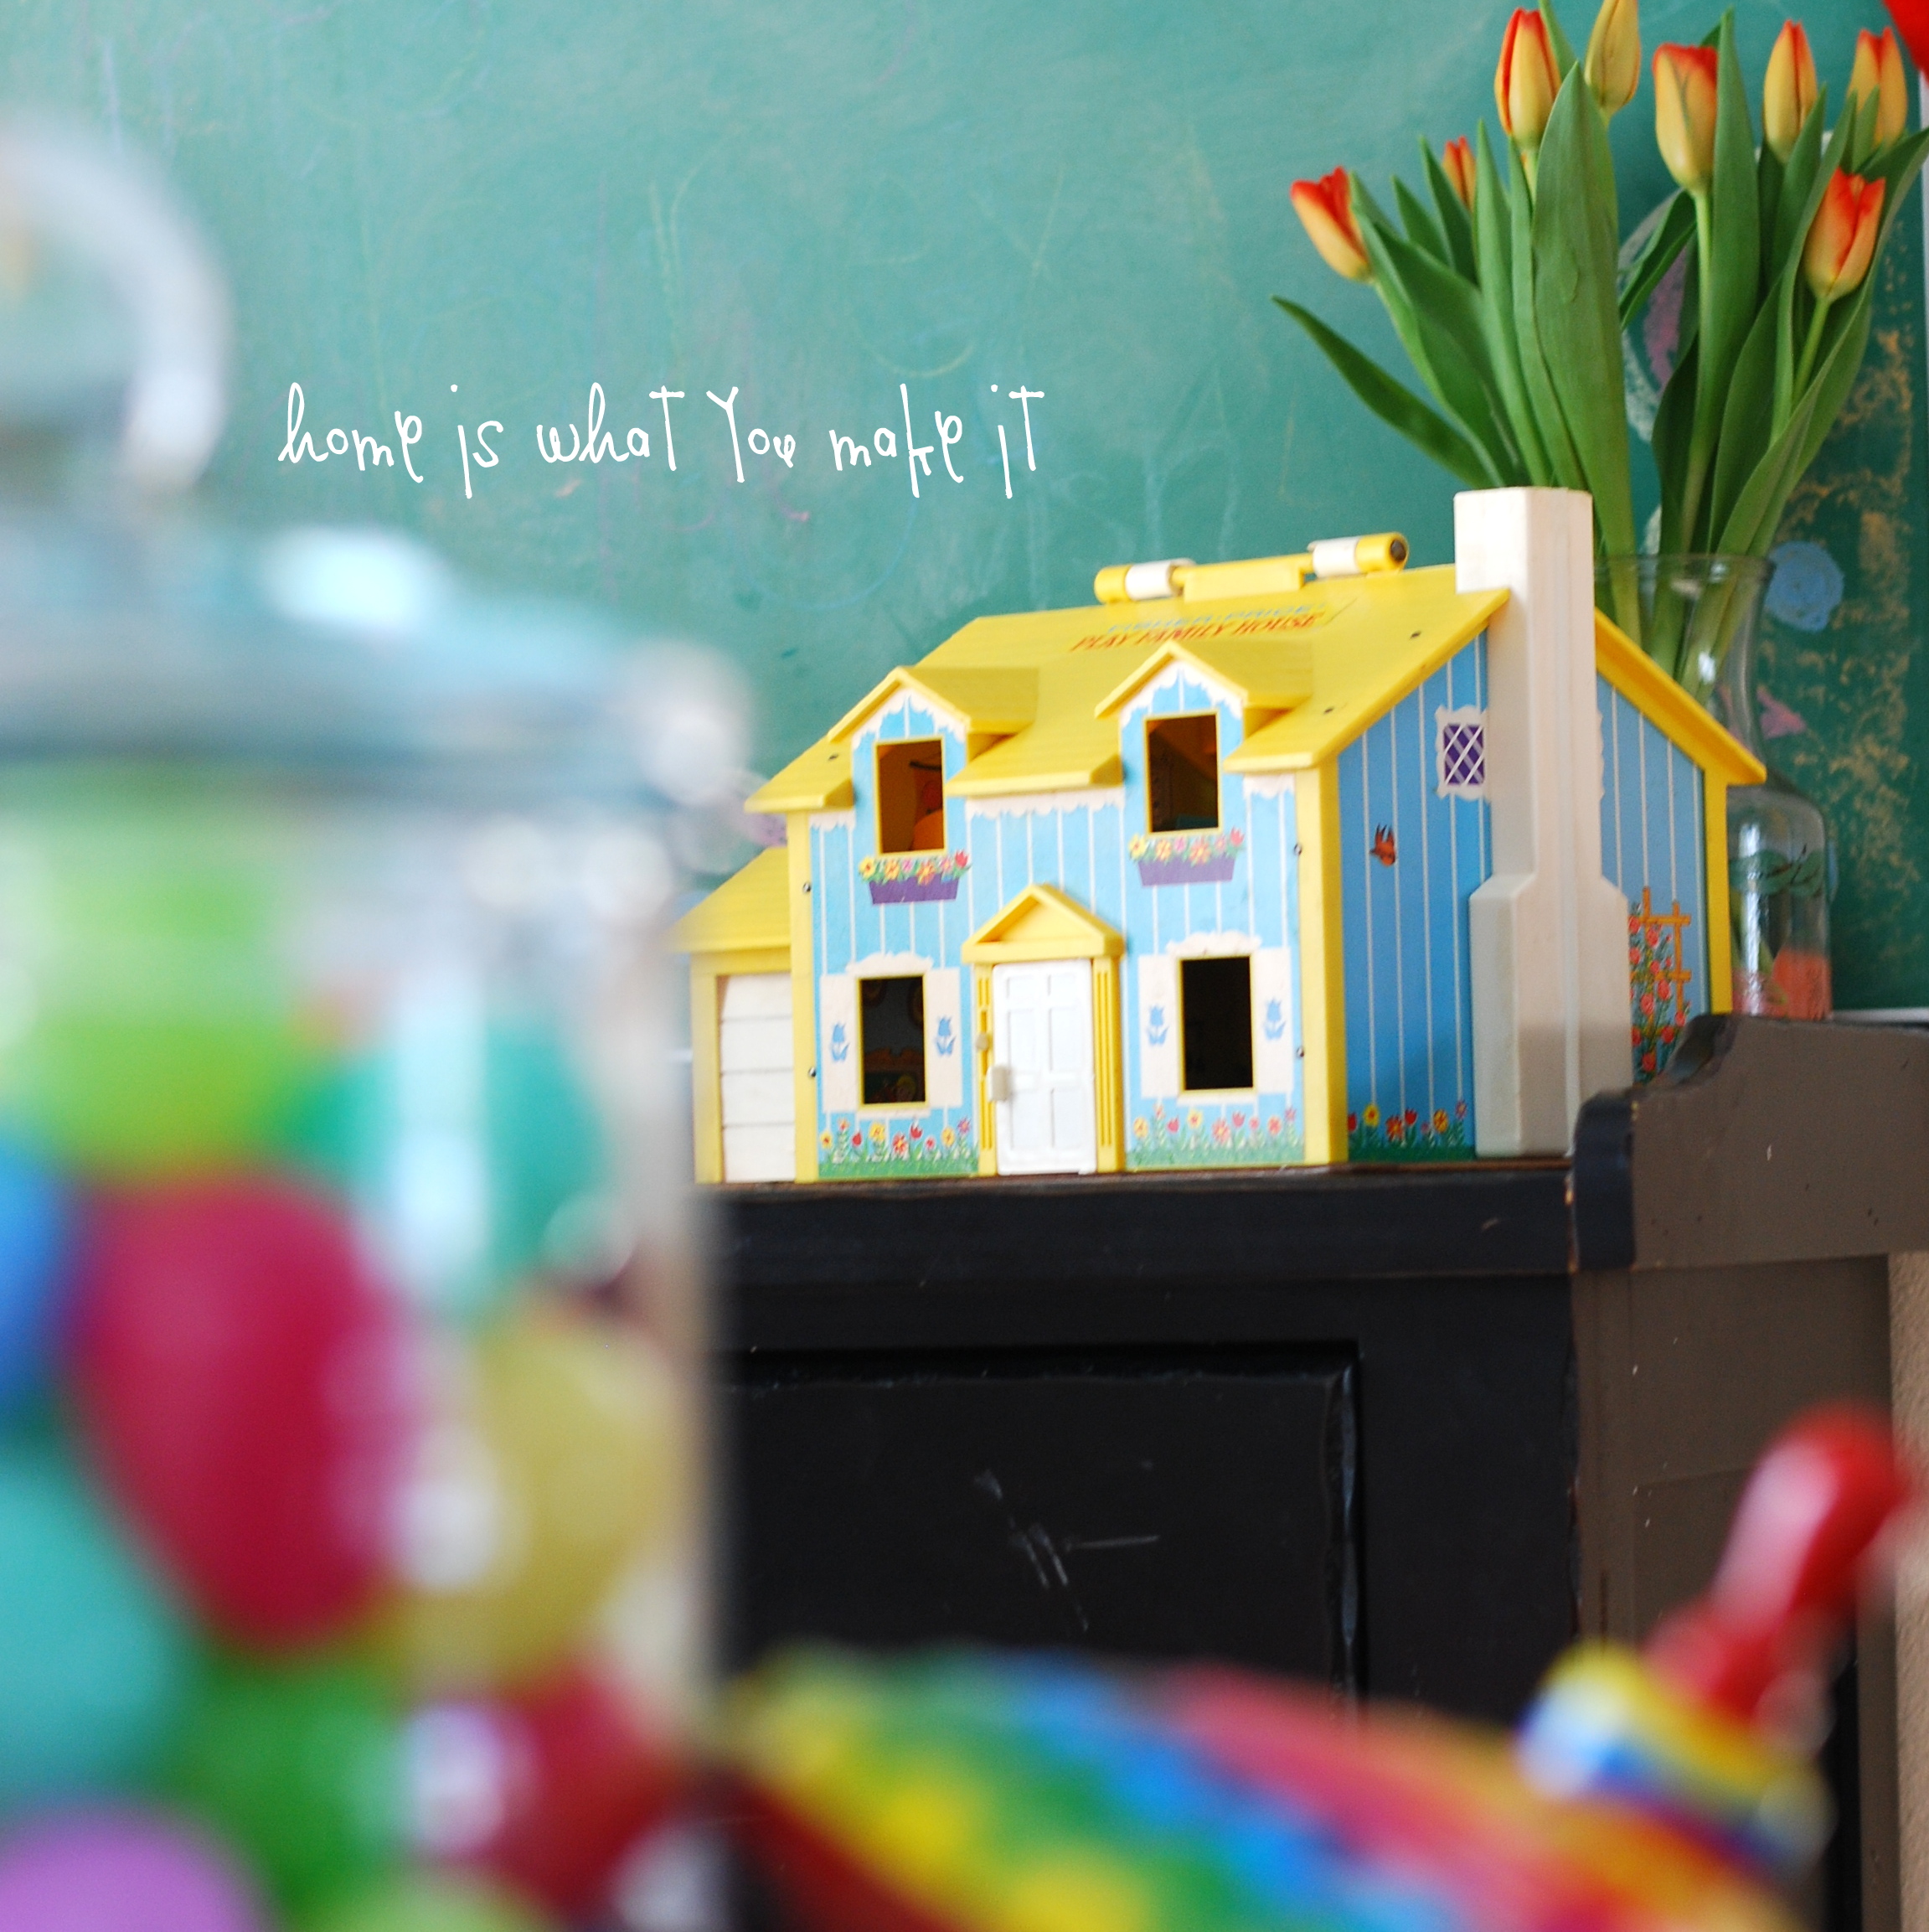
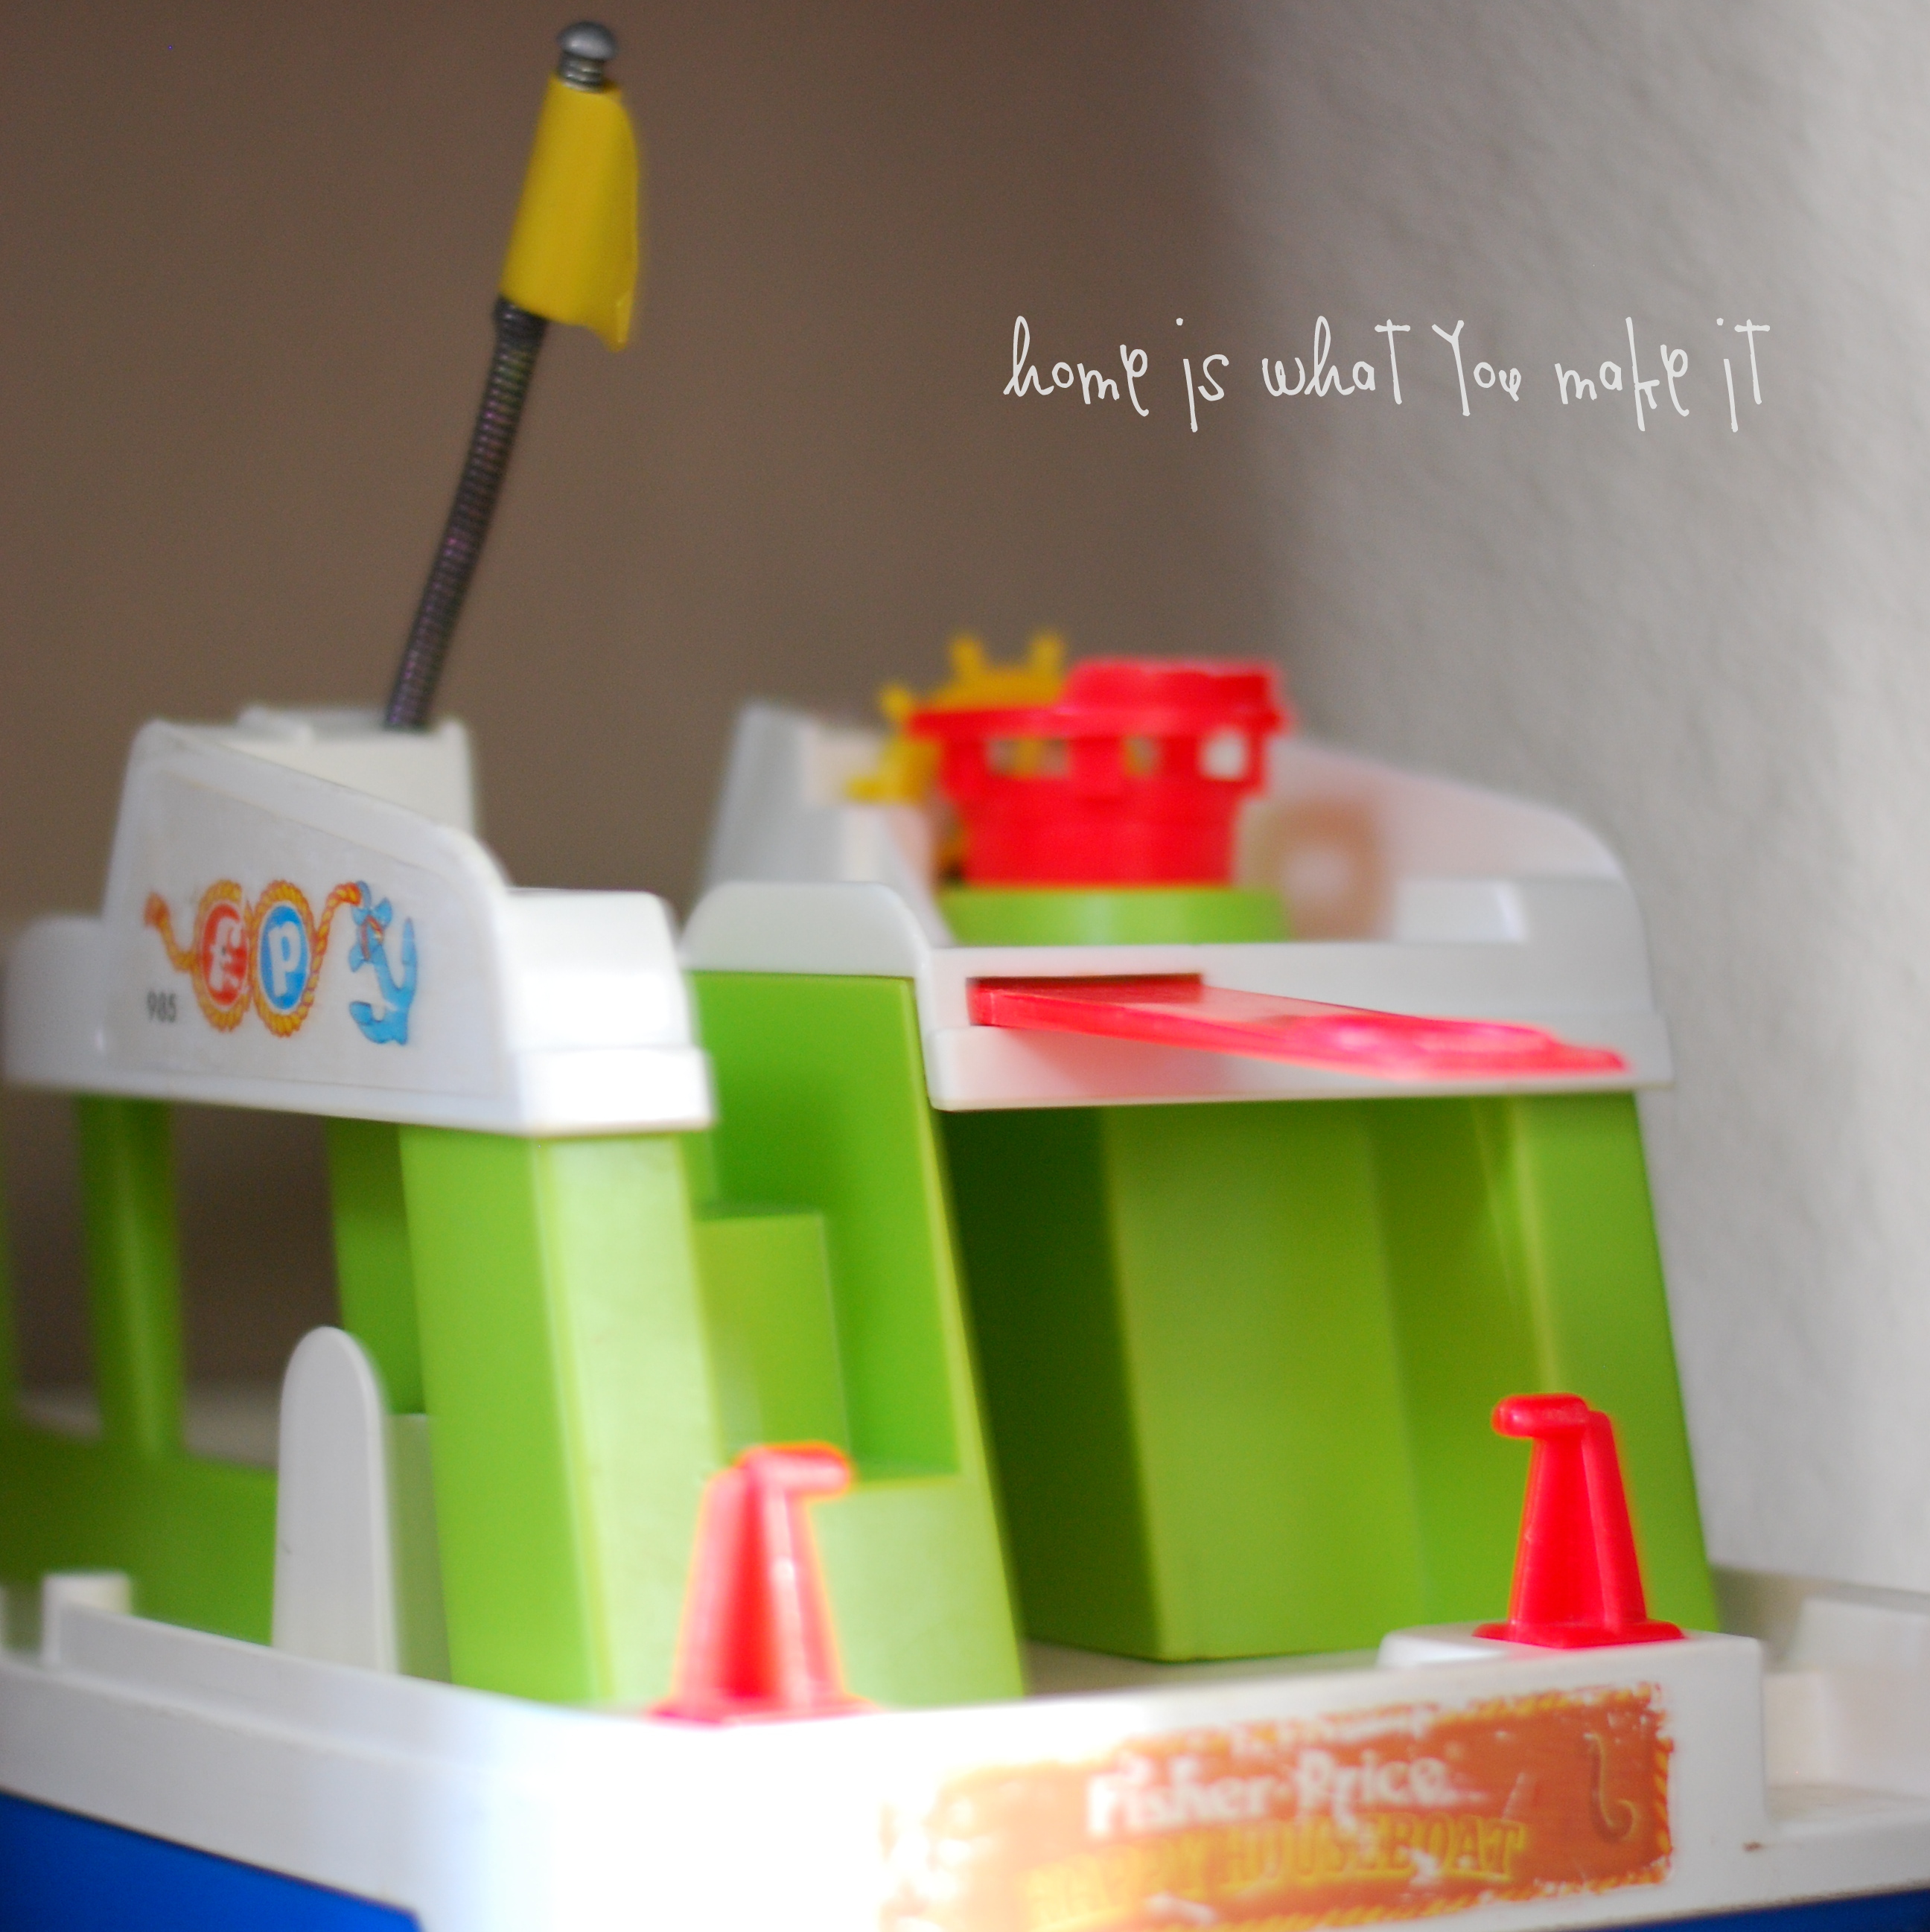
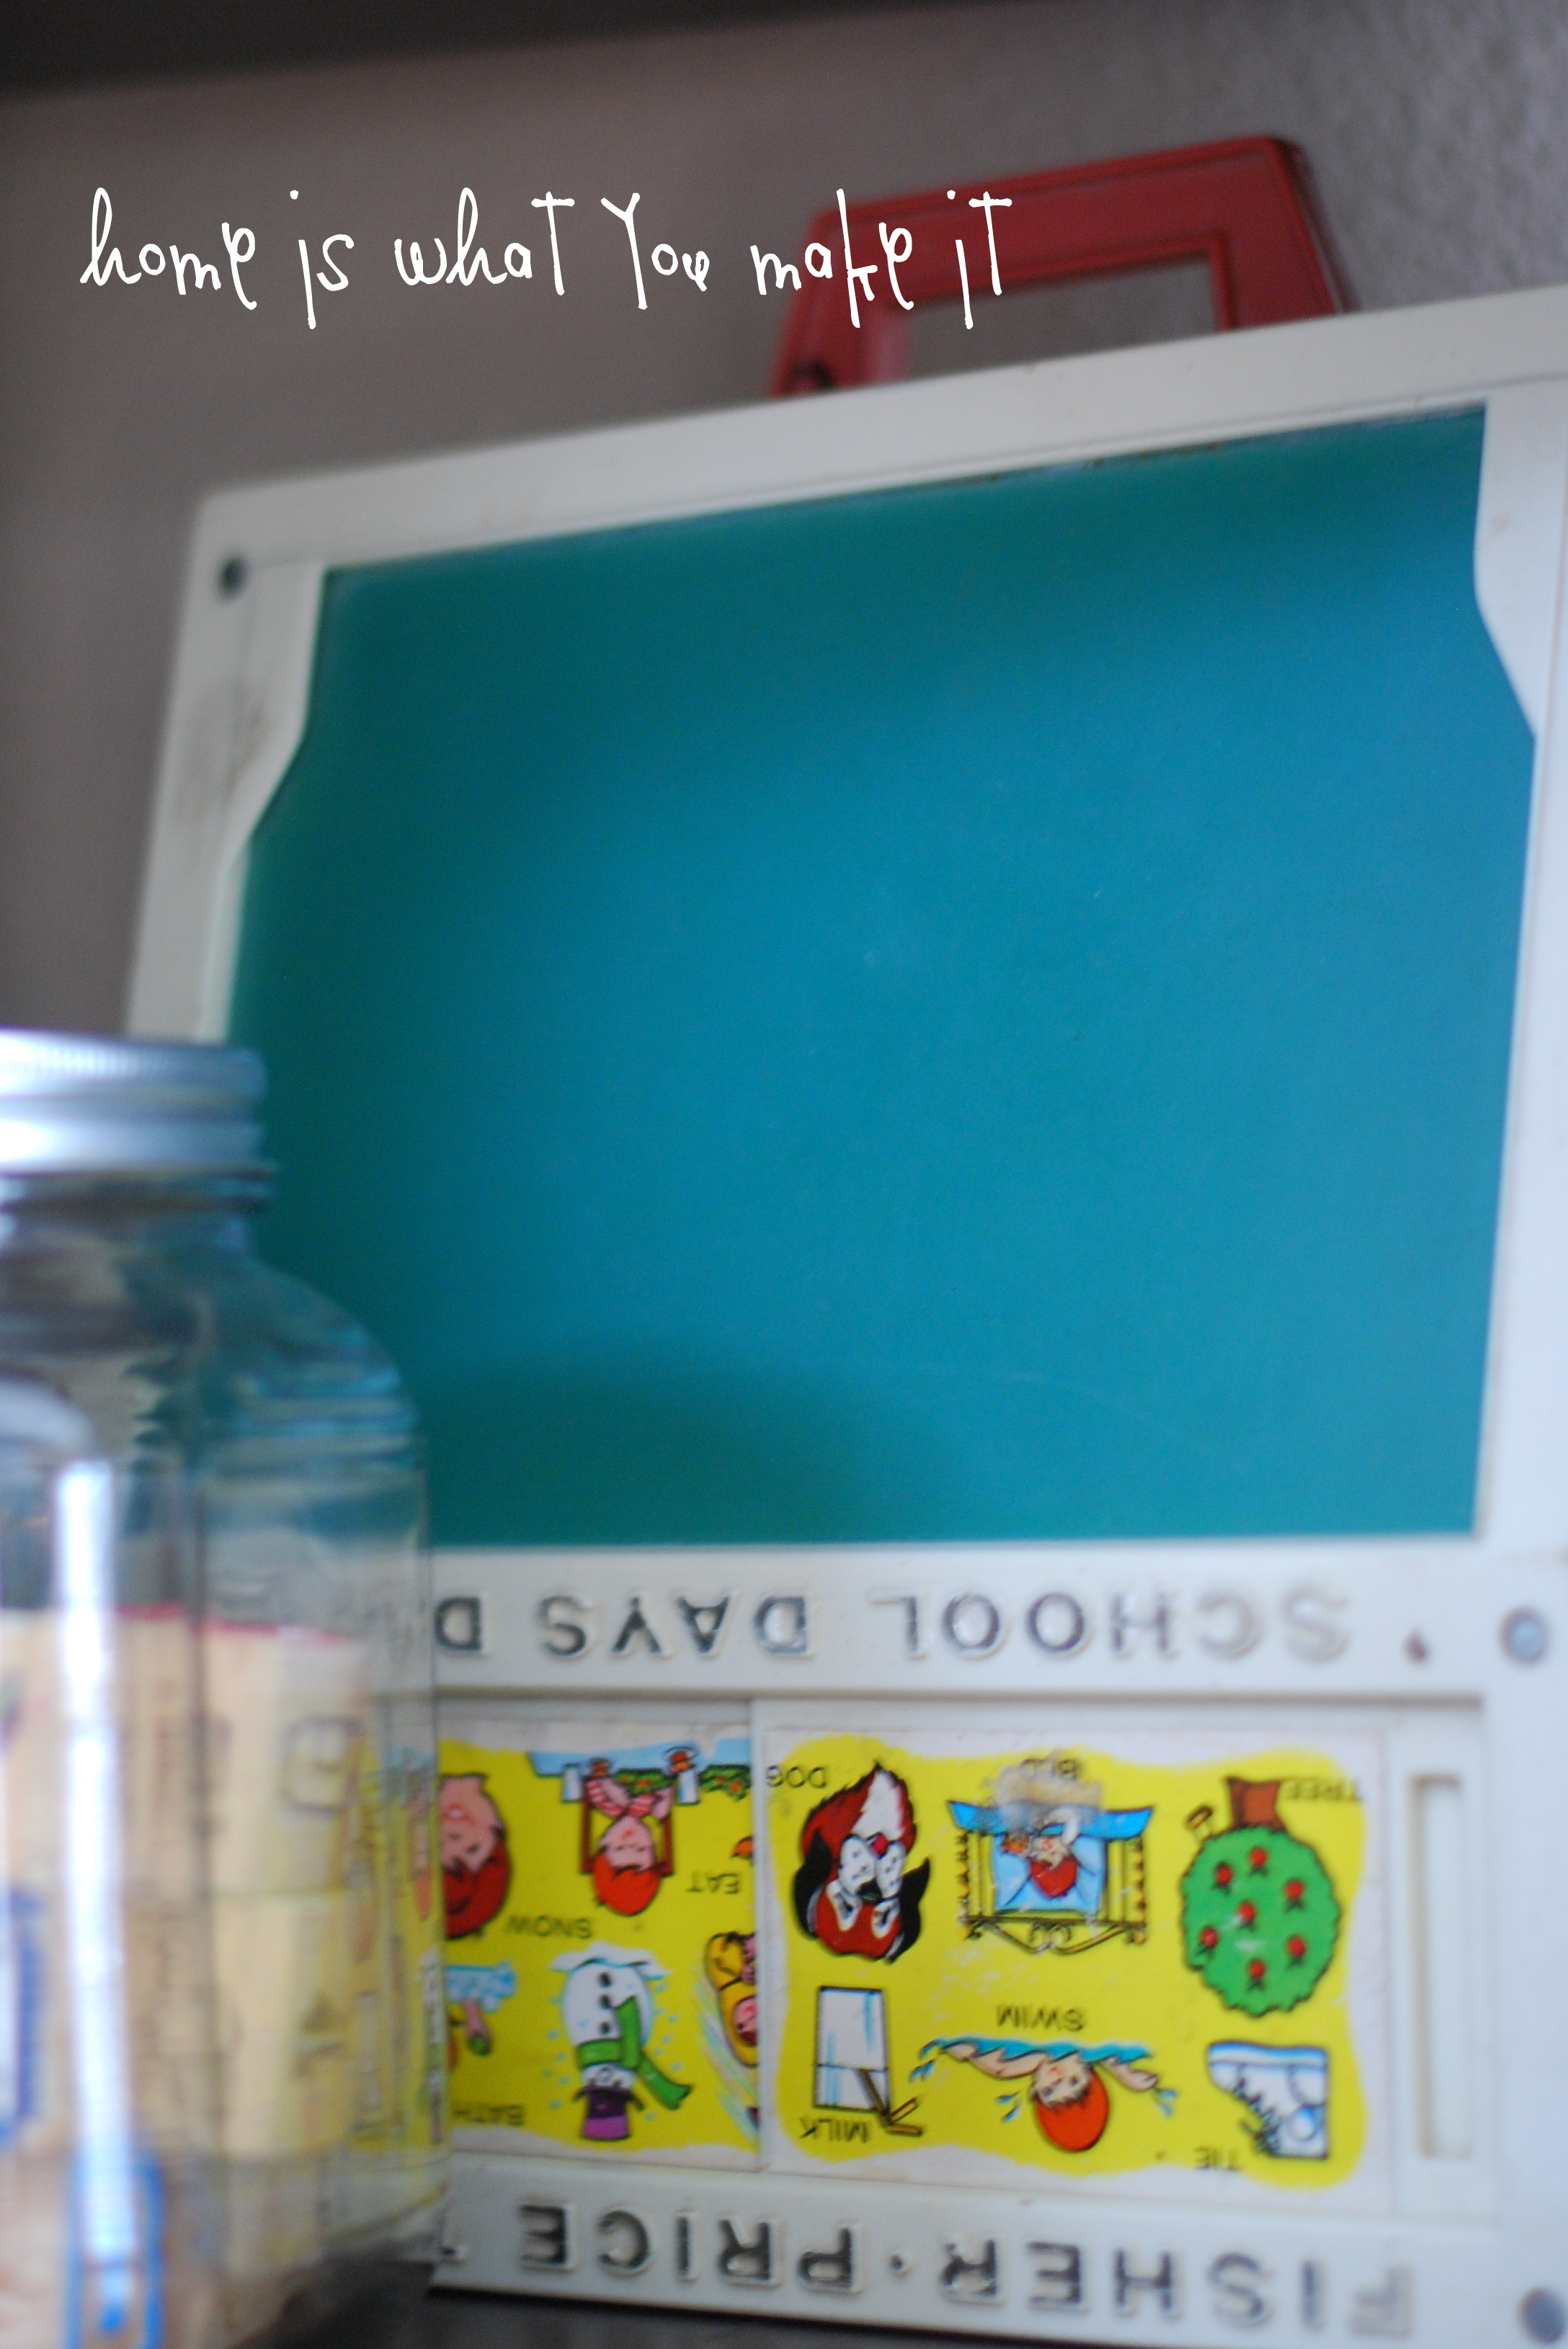
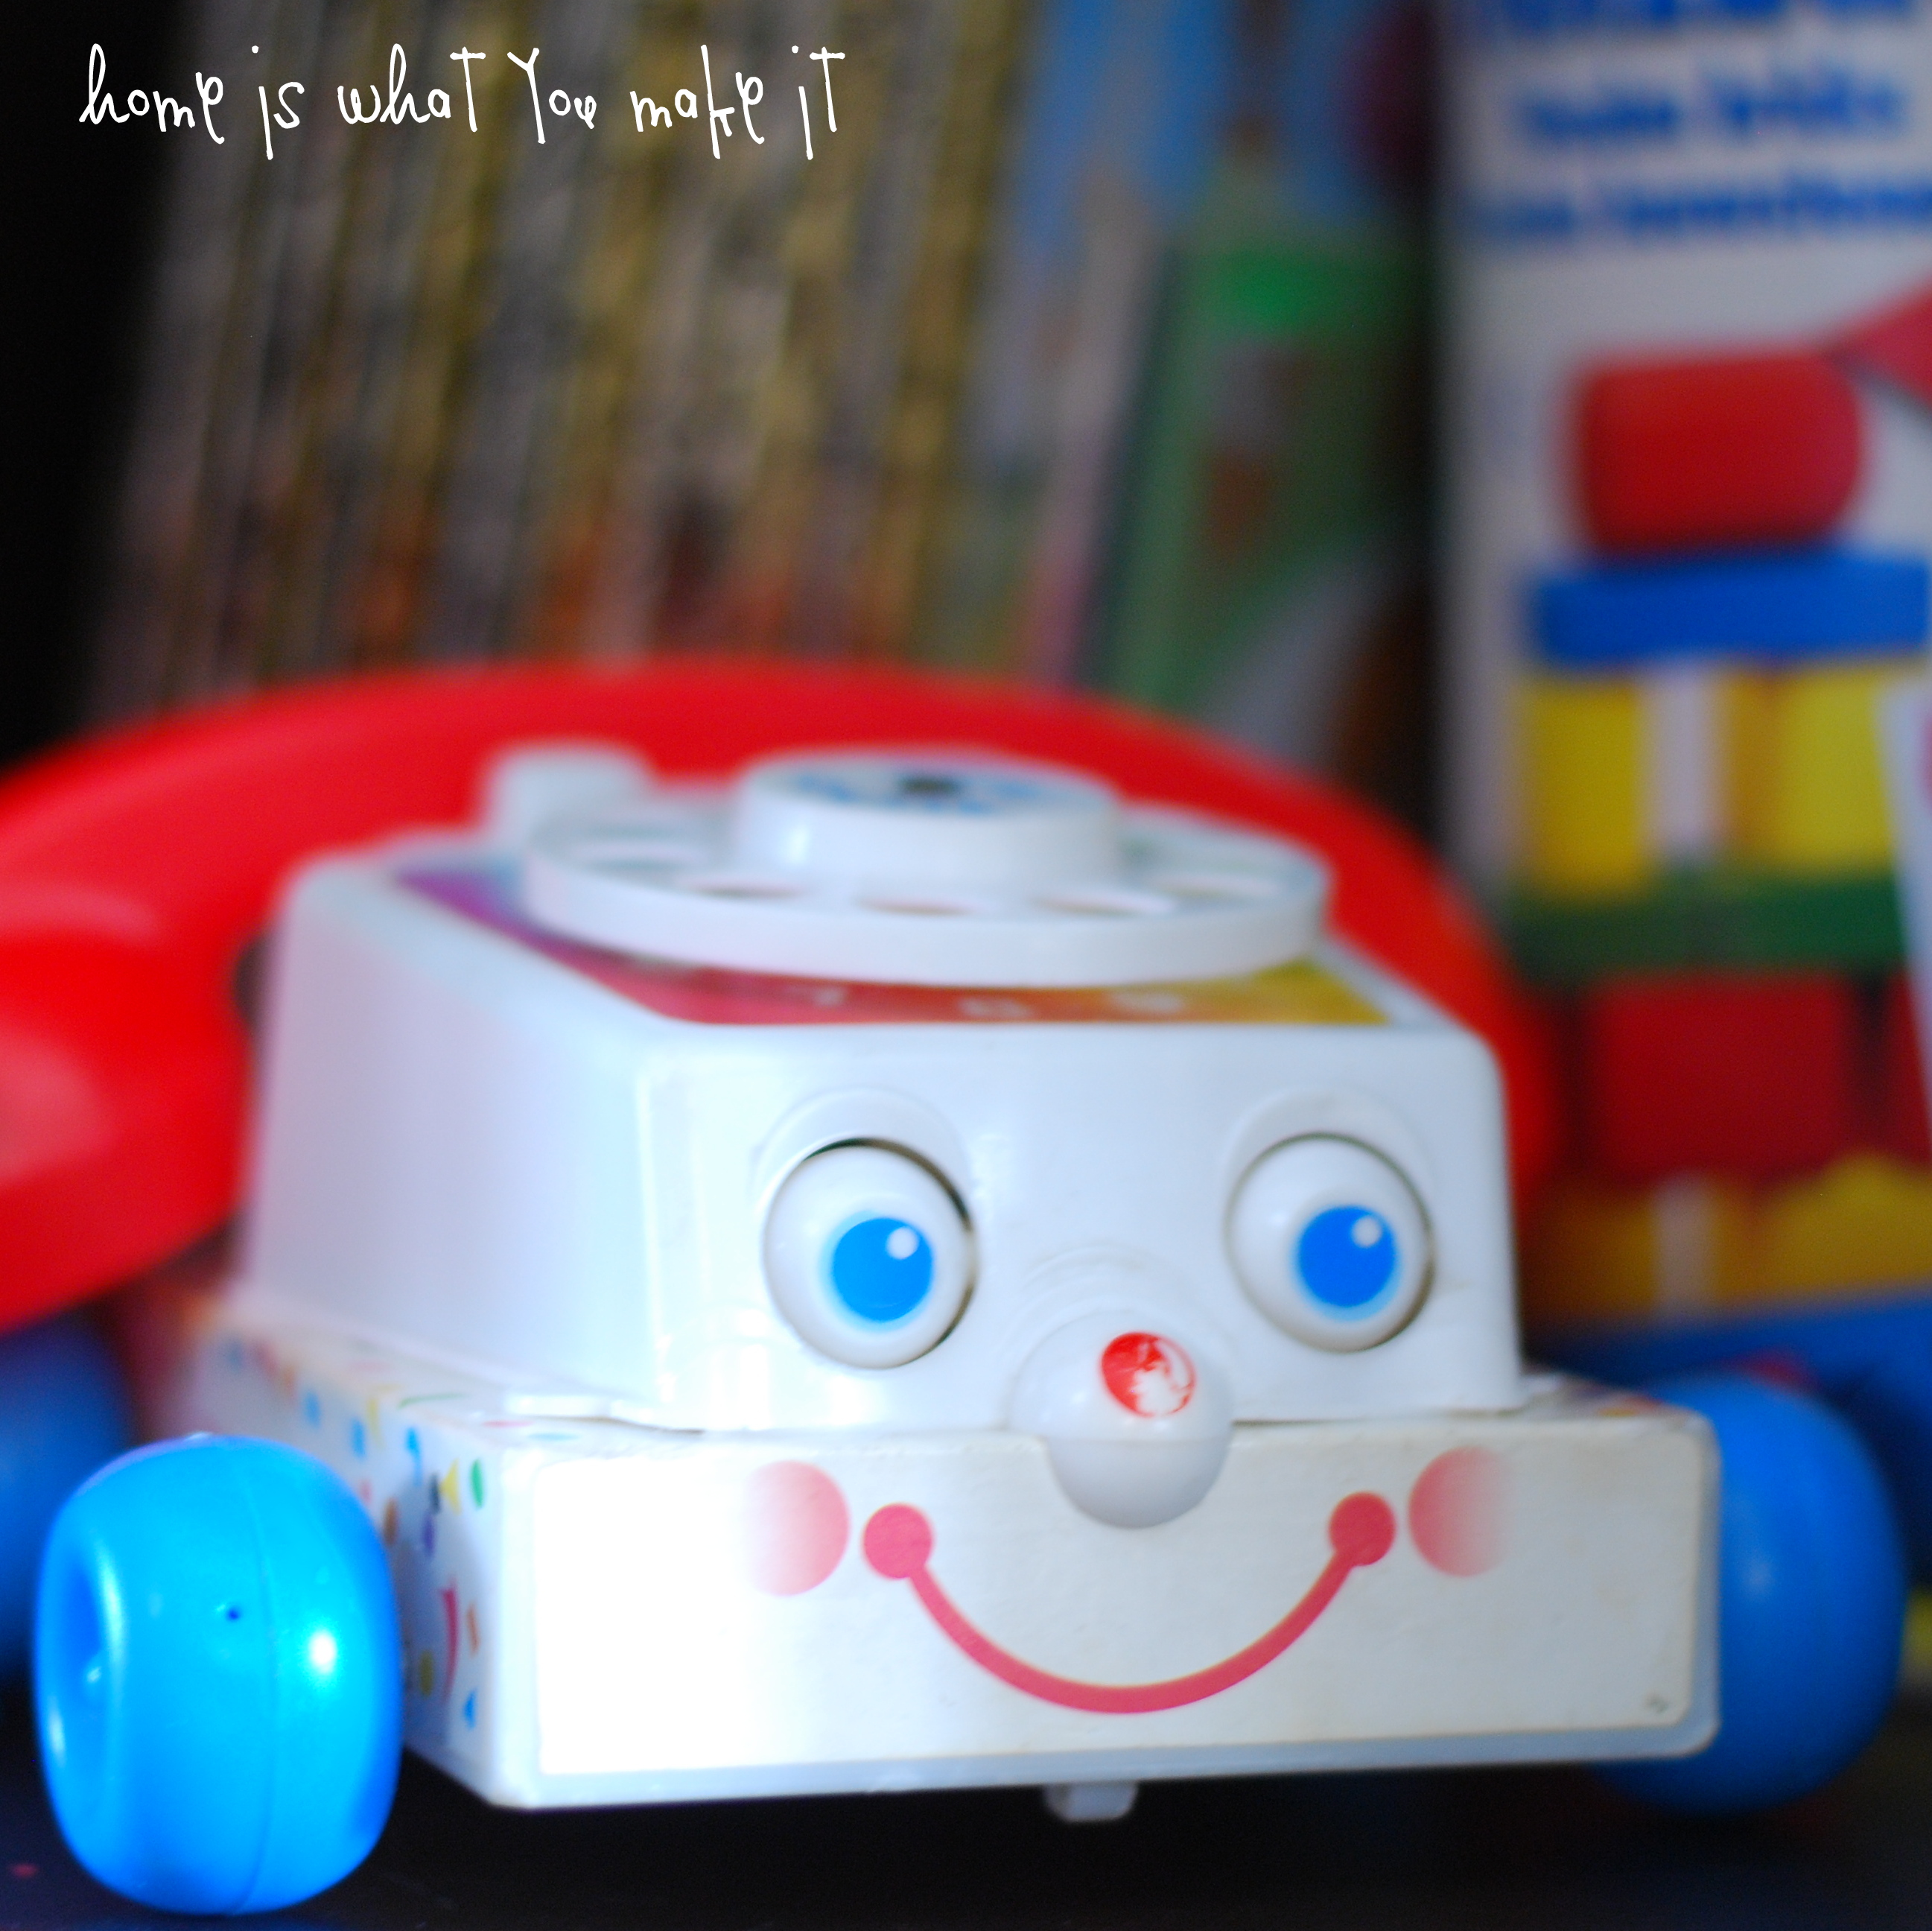
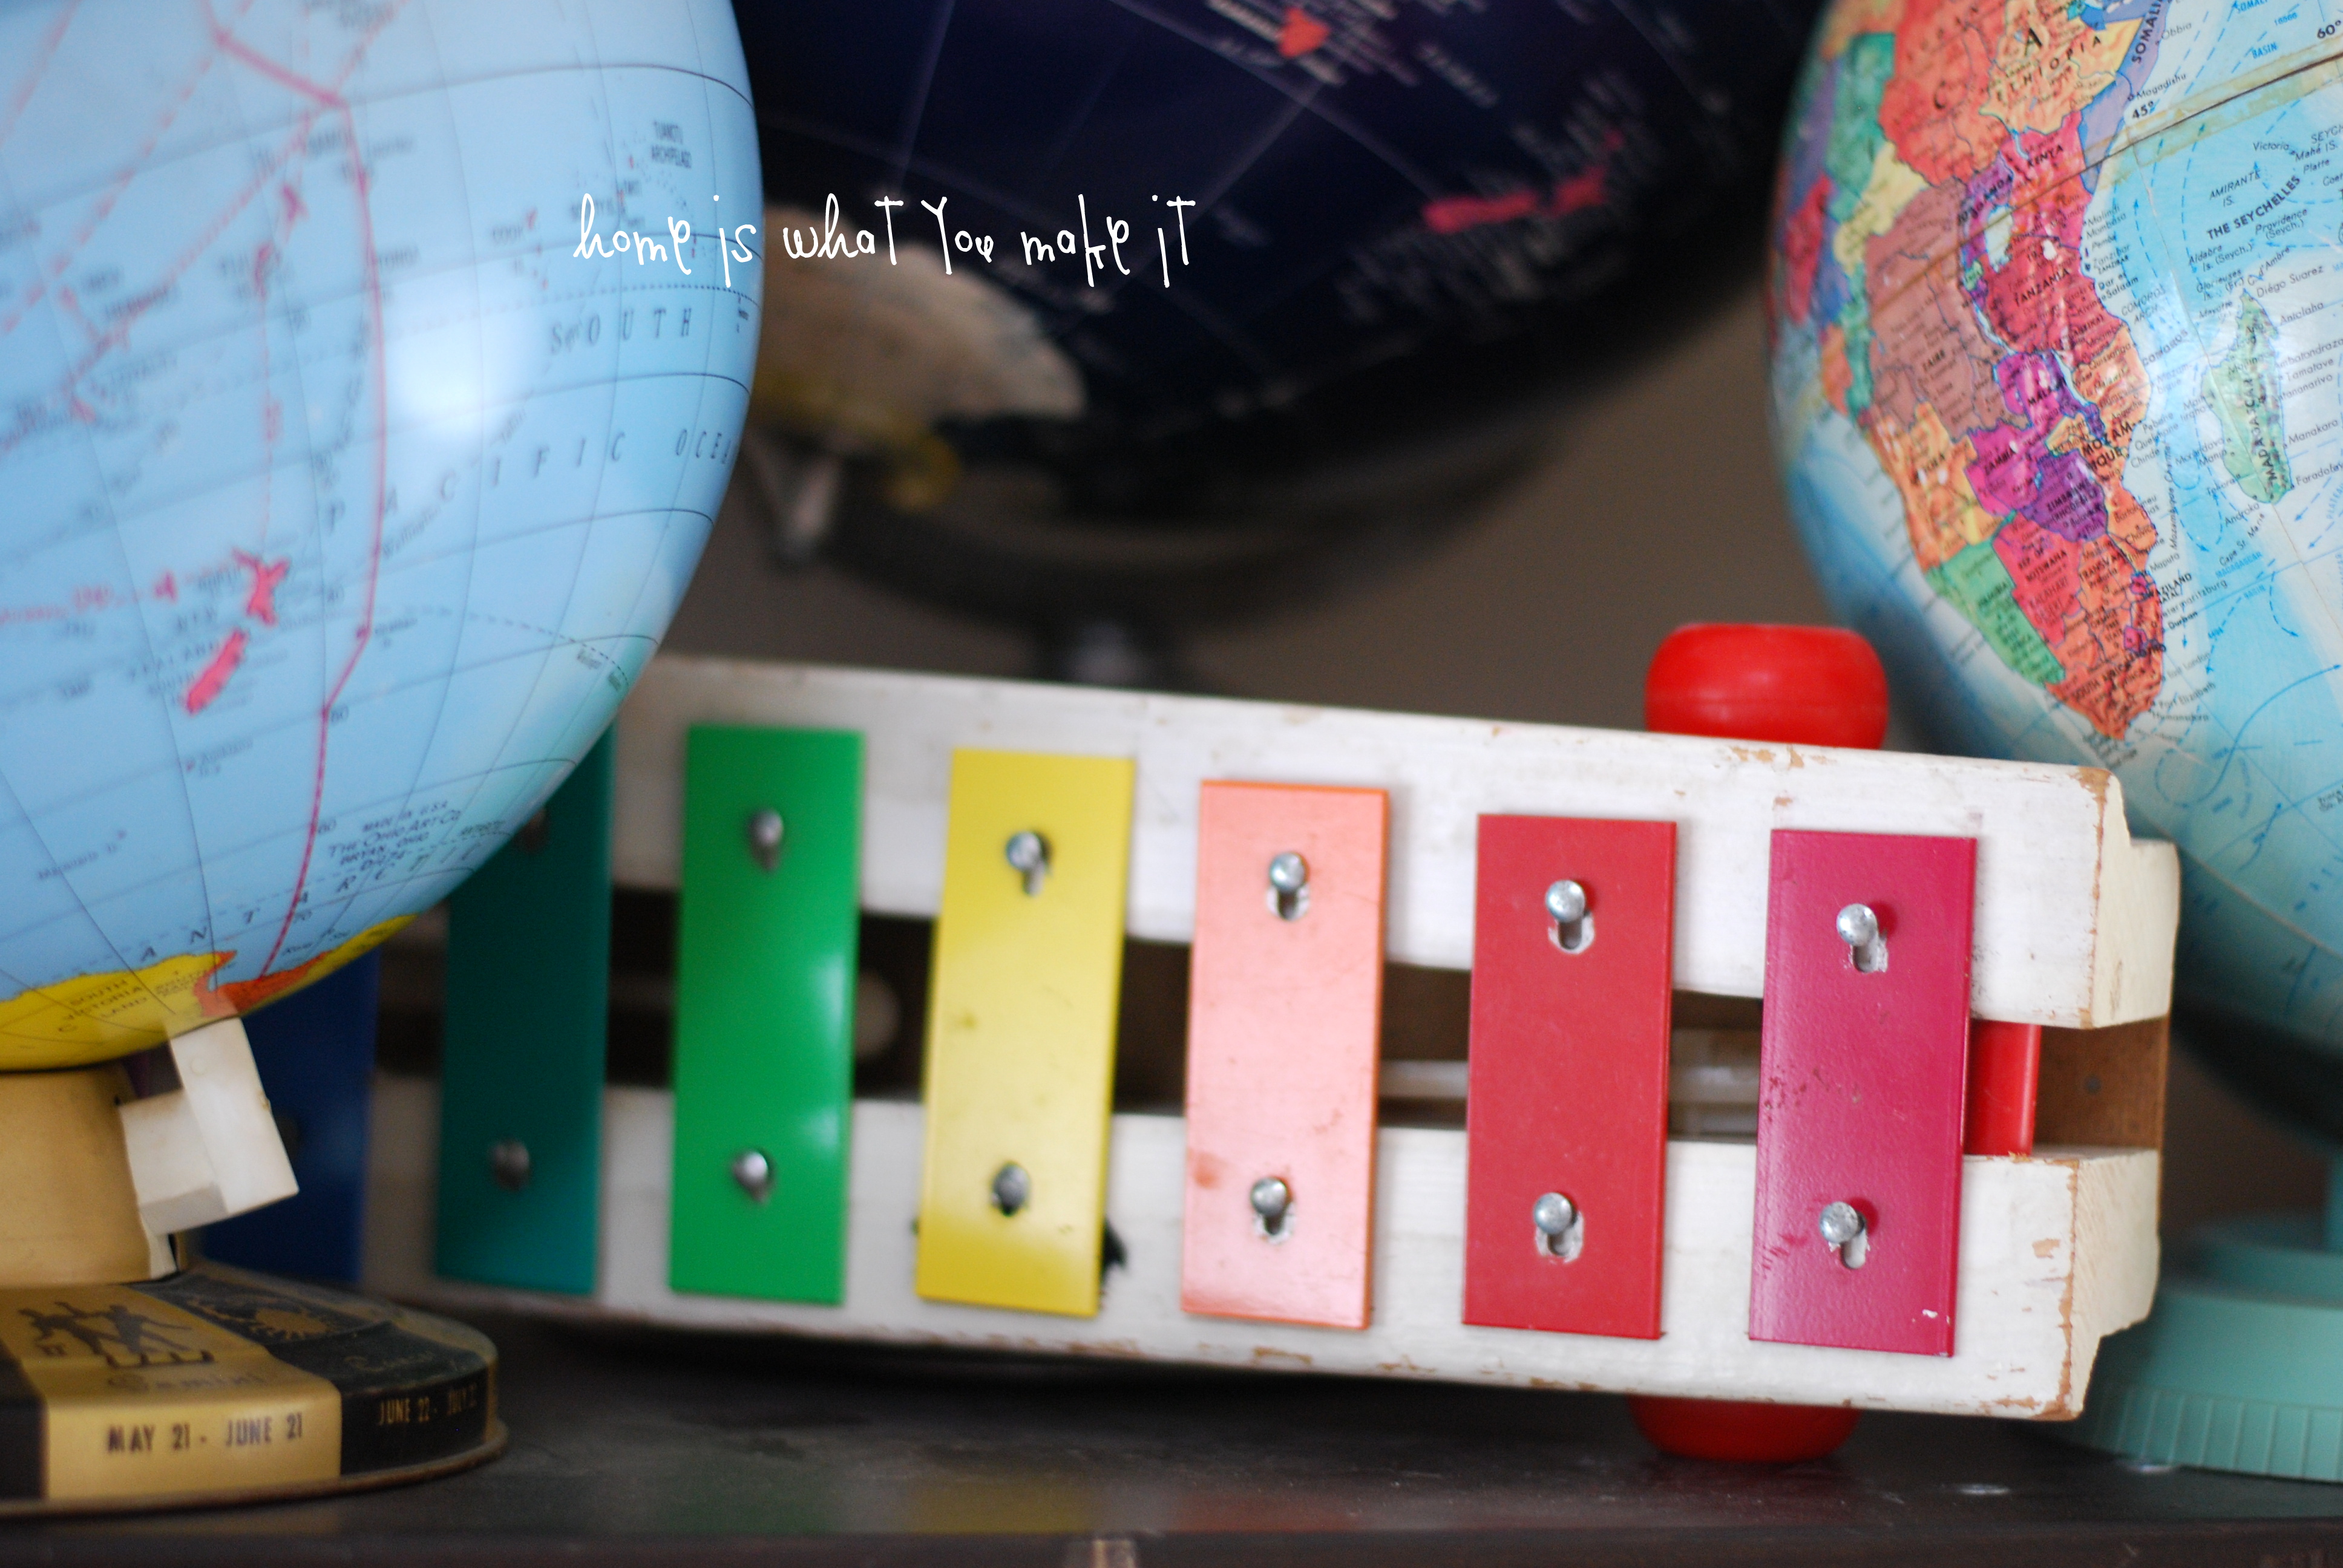
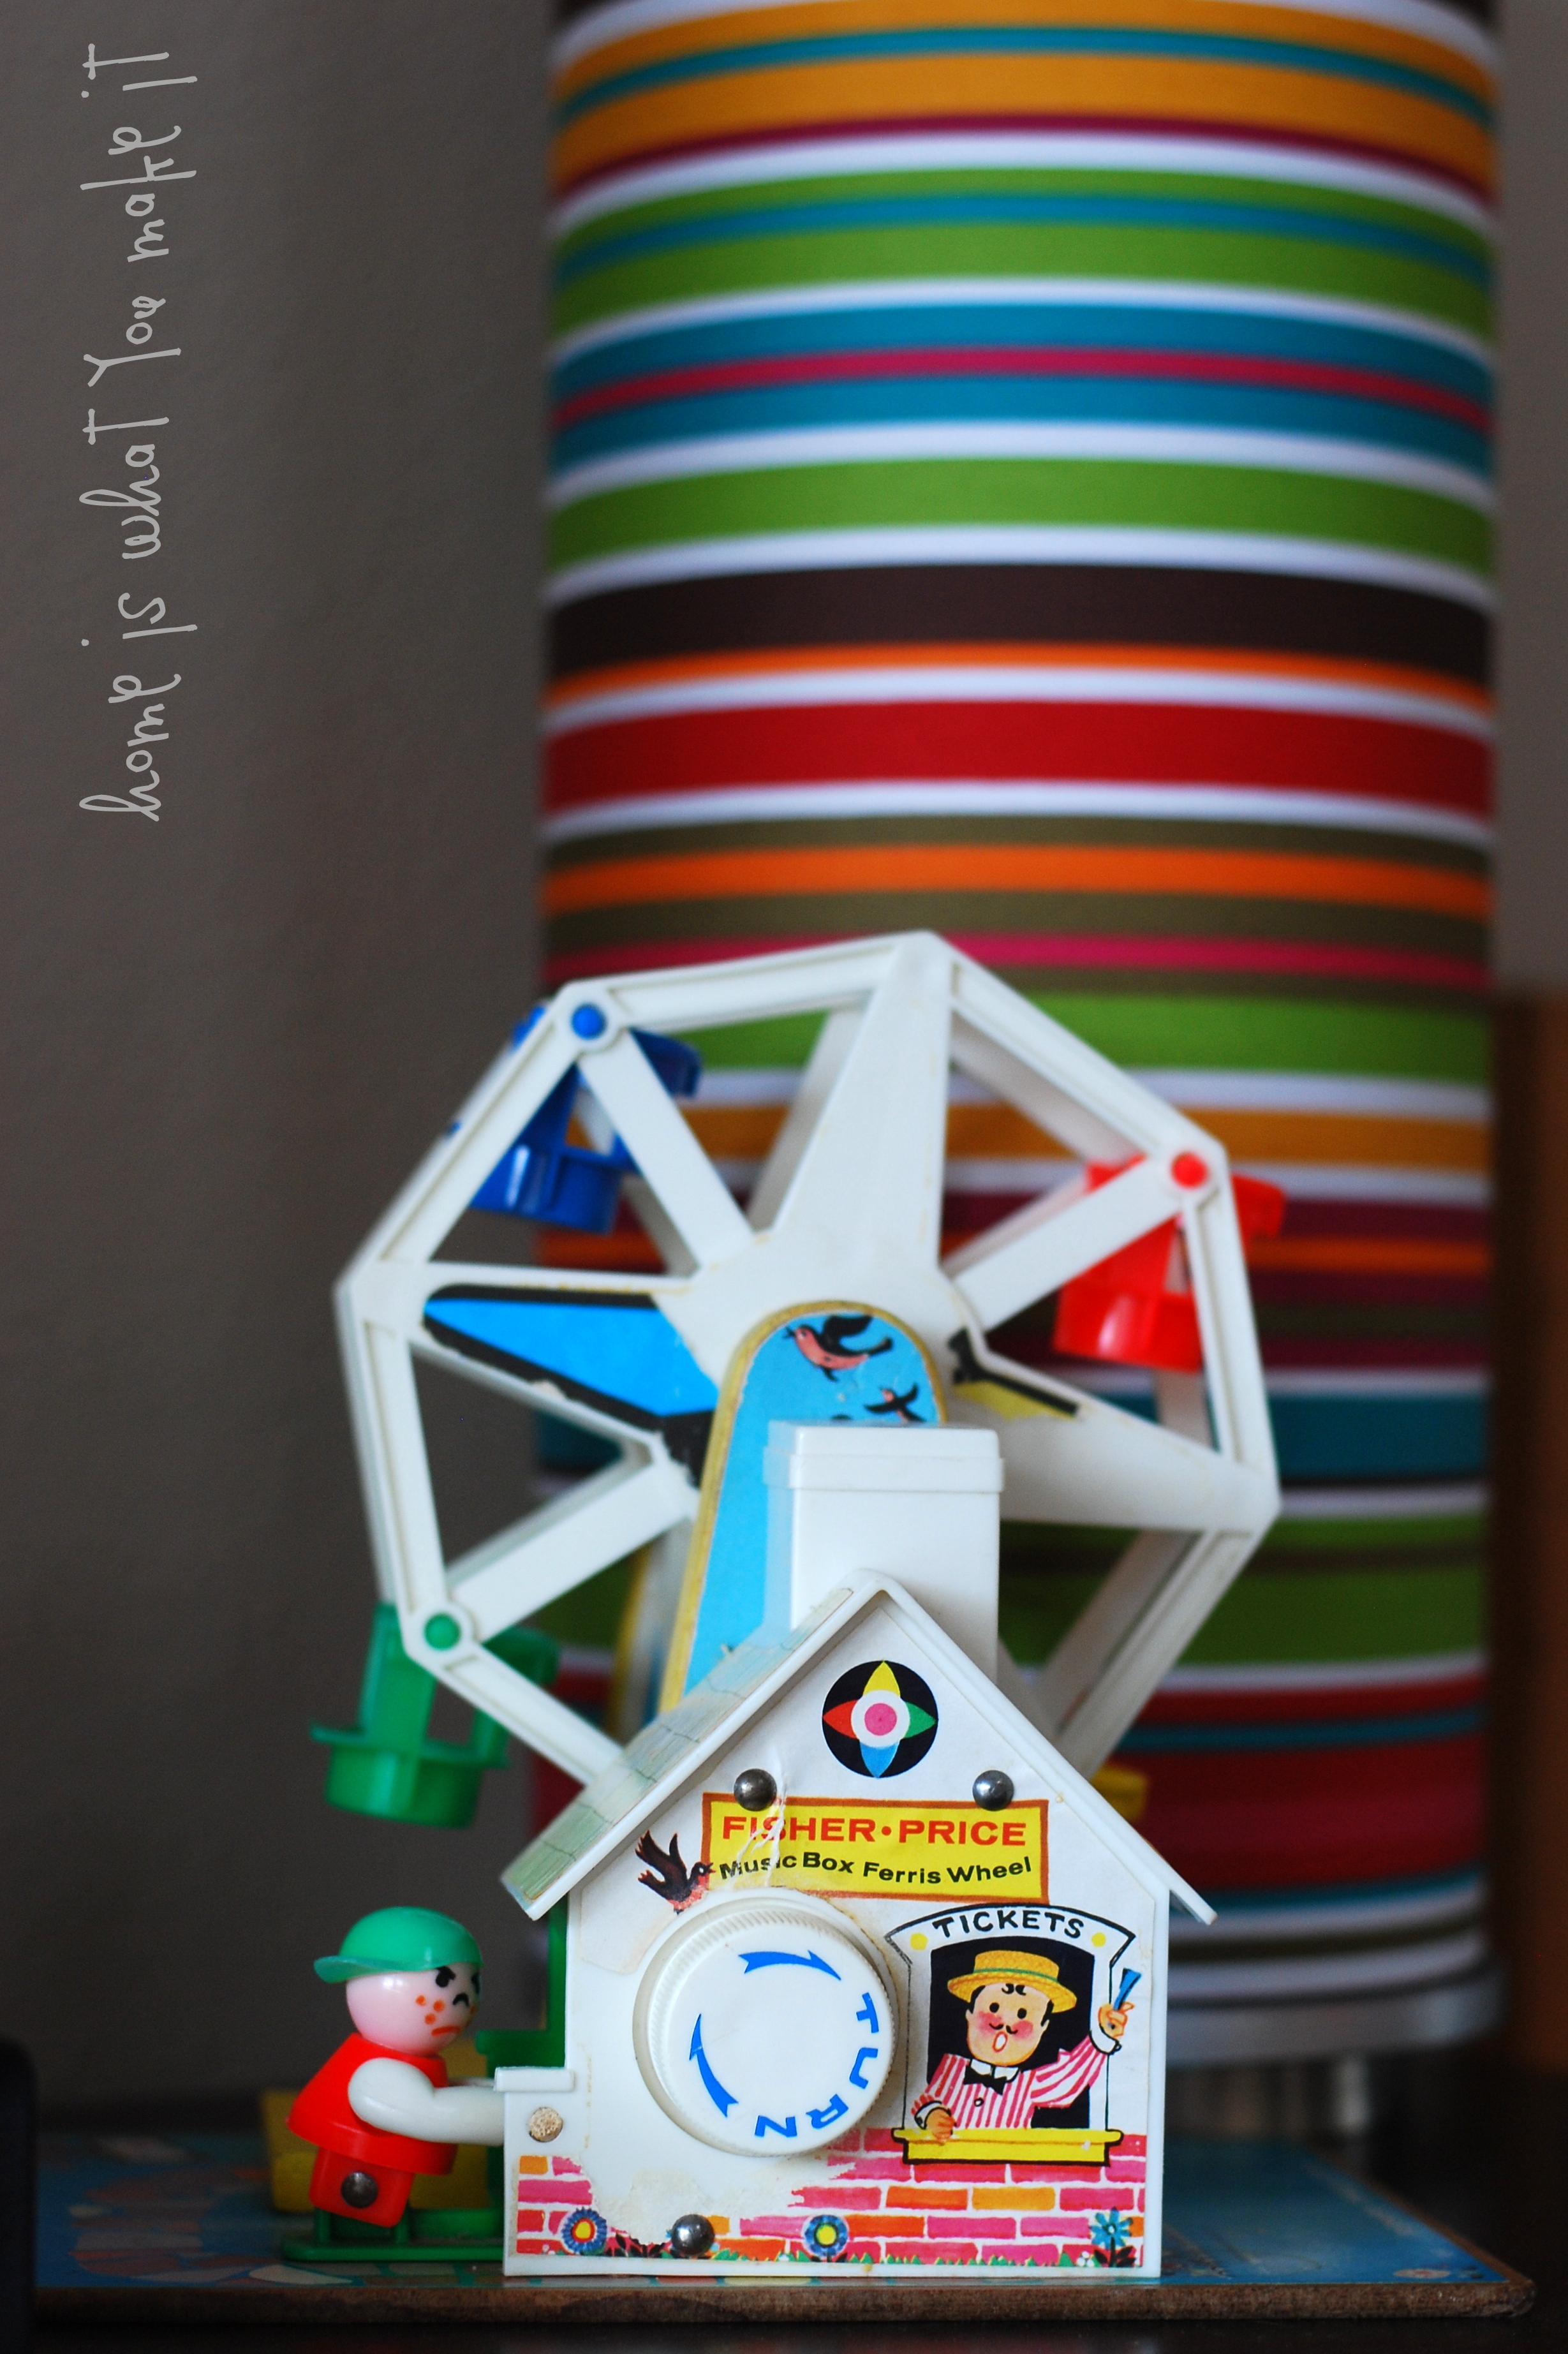
home is what you make it.

this space is one of the places that i call home.

i like to bring it along with me wherever i go.

i may have to take back my laptop from the roblox and minecraft world and turn it back into my portable home.

hopefully, you will stick around to join me.

SaveSave

easy christmas card photo books

I have been getting a lot of questions about an Instagram story I posted a couple weeks ago about what I do with all of the Christmas cards that we receive. I wrote this blog post 5 years ago and figured it might be a good time to repost it.

Don’t throw out all those cards, easily turn them into little photo books that you can pull out each year! We now have 9 years of books collected and I love to pull out the books in late November and look through them the entire month of December. 


One of my favorite parts about Christmas is receiving the cards from all of our friends and relatives. I especially like the photos.

They make me smile from the day I receive my first card until the day I finally take them down from their display…which is usually one of the last things to come down.

Over the years I have saved the photos in a drawer in my desk. You see, my aunt had albums full of christmas card photos and every year I loved to sit down on Christmas day and look through them. Although I didn’t know all the people, I learned to recognize the familiar faces year after year and enjoyed seeing how families had grown, adult children had gotten married, etc. My plan was to eventually start some albums of my own.

As I was trying to find space in the drawer in my desk for our cards from Christmas 2012 I finally decided to just put the darn books together. I mean, for goodness sake, all I needed was a hole punch (I used a 3 hole punch and a single hole punch), some chipboard, some rings, and a glue stick!

easy christmas card photo books

All of my cards were organized by year, so I started punching holes.

easy christmas card photo books 6

{That’s my mom and dad in Italy}

easy christmas card photo books 7

easy christmas card photo books 8

I used two holes of a three hole punch so that I would eventually be able to line up the cards that were differing sizes and shapes.

easy christmas card photo books 2

Then I cut some chipboard that I had from the back of some thrifted frames that I won’t be using. I cut the chipboard a little larger than the largest card…three of the books ended up being 9″ x 6″ and one is 8″ x 6″.

easy christmas card photo books 5

easy christmas card photo books 3

I punched holes in the chipboard and glued our christmas card to the front.

easy christmas card photo books 4

I also made back covers for the books so the cards are protected on both sides of the book.

easy christmas card photo books 9

This year our card was a post card and I wanted to include the back of the card, so I put it on the inside of the back cover.

easy christmas card photo books 1

In less than an hour (it actually took 2 days, but I had to start and stop multiple times for various reasons…kids, dogs, cats, husbands, etc.) I had books from the last 4 years put together!

easy christmas card photo books 10

For now, they are in our basket of photo books in the family room. I think, eventually, I will put them in the attic with the rest of the Christmas decor so they will be a fun tradition to pull out of the bins each year.

easy christmas card photo books 11

Notice a change to the bookshelves? I’ll fill you in on that quick project this week!

Stay tuned…


I hope this inspires you to keep those cards! It’s a super simple project and feels so good once you have it done!

easy christmas card photo books

I just finished putting our Christmas card photo book for 2015 together. We now have SEVEN years of Christmas cards collected into little flip books! I looked through the archives and found my original post about how I put them together.


One of my favorite parts about Christmas is receiving the cards from all of our friends and relatives. I especially like the photos.

They make me smile from the day I receive my first card until the day I finally take them down from their display…which is usually one of the last things to come down.

Over the years I have been saving the photos in a drawer in my desk. You see, my aunt had albums full of christmas card photos and every year I loved to sit down on Christmas day and look through them. Although I didn’t know all the people, I learned to recognize the familiar faces year after year and enjoyed seeing how families had grown, adult children had gotten married, etc. My plan was to eventually start some albums of my own.

As I was trying to find space in the drawer in my desk for our cards from Christmas 2012 I finally decided to just put the books together. I mean, for goodness sake, all I needed was a hole punch (I used a 3 hole punch and a single hole punch), some chipboard, some rings, and a glue stick!

easy christmas card photo books

All of my cards were organized by year, so I started punching holes.

easy christmas card photo books 6

{That’s my mom and dad in Italy}

easy christmas card photo books 7

easy christmas card photo books 8

I used two holes of a three hole punch so that I would eventually be able to line up the cards that were differing sizes and shapes.

easy christmas card photo books 2

Then I cut some chipboard that I had from the back of some thrifted frames that I won’t be using. I cut the chipboard a little larger than the largest card…three of the books ended up being 9″ x 6″ and one is 8″ x 6″.

easy christmas card photo books 5

easy christmas card photo books 3

I punched holes in the chipboard and glued our christmas card to the front.

easy christmas card photo books 4

I also made back covers for the books so the cards are protected on both sides of the book.

easy christmas card photo books 9

This year our card was a post card and I wanted to include the back of the card, so I put it on the inside of the back cover.

easy christmas card photo books 1

In less than an hour (it actually took 2 days, but I had to start and stop multiple times for various reasons…kids, dogs, cats, husbands, etc.) I had books from the last 4 years put together!

easy christmas card photo books 10

For now, they are in our basket of photo books in the family room. I think, eventually, I will put them in the attic with the rest of the Christmas decor so they will be a fun tradition to pull out of the bins each year.

easy christmas card photo books 11


{31 days} paper bag flowers


{31 days} header

 ~secondhand and created~

paper flowers4

I absolutely LOVE sunflowers and love this craft.

paper flowers3

It’s perfect to add a neutral early fall touch to your decor, but packs a punch by being 3 dimentional.

paper bag flowers 8

I used a few in baby girl’s room with some tissue paper puffs leftover from her first birthday party!

Click here for an awesome tutorial {it looks like she uses lunch bags, but I used full size brown paper grocery bags}.

{You can also read my original post happy paper flowers  from January 2013}

home is….{31 days} secondhand, created paper flowers.

Join me while I link up with The Nester every day in October for #write31days.
Click here to find a list of all 31 posts as they are published.

{31 days} flash card art

{31 days} header

~secondhand, created and thrifted~

You need:

  • flash cards
  • background paper (I chose a paper bag)
  • frame
  • scissors
  • glue
  • sharpie or pencil

Cut paper to fit frame.

Arrange flash cards.

Glue into place.

Place into frame.

Hang on your wall.

I also made this one where I added the year we were married, the year the little guy was born, and the year baby girl was born.

home is…{31 days} secondhand, created and thrifted fun with flash cards.

Join me while I link up with The Nester every day in October for #write31days.
Click here to find a list of all 31 posts as they are published.

{our home} summer kitchen project

shortly after i returned from whatever craft weekend (which i promise to write about soon), i decided it was time to paint the red walls in our kitchen white.

kitchen 1

i asked my instagram friends what whites they have used, but was too impatient to wait for all of the suggestions and decided to go with the pot of cream from behr (the sample on the far left).

kitchen 2

reece was still in school, so lorelai and i got to work.

kitchen 3

it was an instant transformation on the walls, so i thought, “why not paint EVERYTHING white?!”

kitchen 9

soon, i was testing the paint on the cabinets and drawers…on the hallway walls…and in the playroom.

kitchen 10

and, i LOVE it!

kitchen 5

it has already made our kitchen seem bigger and brighter.

kitchen 6

it’s been A LOT of work, though. i will not be posting any kind of “how to” about this project because i am winging it…i’ve watched videos, read numerous how to’s on my own, but until i actually got into it i had no idea what i was getting into.

kitchen 4

the good news? the bases and drawers are all painted.

kitchen 7

the cabinet doors have been tricky for me to get a smooth finish on, but i’m working on it…one door at a time.

kitchen 8

i think we will be adding new floors to the first floor, too.

think oak laminate plank flooring.

this is one of those BIG projects that we didn’t have time or resources for that i wrote about in our home tour on life made lovely.

sometimes, you make the time and find the resources to get it done.

and, we are.

home is…hard work and patience.

{collecting} vintage playroom

vintage playroom 1

When I started thrifting less than a year ago I also started some new collections.

vintage playroom 5

My collections are of items that I have always had a fondness of, but never knew how to find them…until I started thrifting.

vintage playroom 4

One of my favorite collections is my vintage fisher price collection.

vintage playroom 6

These toys come from the days of my youth. I am not sure I ever had any of them, nor do I recall playing with any of them (although I am sure I did at some point), but they take me back to when I was a little girl.

vintage playroom 12

I say it is my collection, but it is really for all of us…as are most of my collections.

vintage playroom

The toys fill the shelves in the playroom (remember the playroom…something I thought we would never have).

vintage playroom 7

vintage playroom 8

vintage playroom 9

The kids, most days, will pull the vintage fisher price off the toy shelves before they choose any of the newer toys.

vintage playroom 25

For me, I love…

vintage playroom 26

vintage playroom 17

vintage playroom 21

vintage playroom 36

vintage playroom 19

vintage playroom 22

vintage playroom 37

…the simplicity…

vintage playroom 28

vintage playroom 29

vintage playroom 30

vintage playroom 31

vintage playroom 40

vintage playroom 32

vintage playroom 3

vintage playroom 33

…the graphics…

vintage playroom 35

vintage playroom 15

vintage playroom 16

vintage playroom 2

vintage playroom 10

vintage playroom 27

vintage playroom 11

…the bright colors…

vintage playroom 34

…it all just makes me happy!

vintage playroom 39

I imagine that these toys will go into the attic (or my creative cottage) to be stored until my own kids have children of their own.

vintage playroom 24

And, just like my kids do when they visit their grandparents in New York, they will play with the same toys that generations before them have been playing with.

vintage playroom 23

vintage playroom 14

When I come across duplicates of what we already have I put them into colton+cadence or post them for sale on instagram.

vintage playroom 38

vintage playroom 20

vintage playroom 13

If you are interested in starting your own collection you can follow @coltoncadence on instagram or visit the vintage playroom section of colton+cadence on etsy!

home is…collecting something that makes you (and your home) happy.

{hello friday} 2.8.2013

Where did the week go?!

We spent ours…

drawing and writing: the kids love to make books. Reece draws the pictures and then sounds out the words to write what the picture is about. It is amazing to see him learning so much! Lorelai mimics her brother and likes to draw “naughty scribbles”.

2.8.2013 10

cleaning: Inside and out. Ryan cleaned up the yard last Sunday. The kids and I cleaned out their playhouse…the stinkbugs had taken up winter residence in there!

2.8.2013 2

thrifting: Treasure hunting for the shop. Treasure hunting for us. Enjoying a solo morning thrift while the kids were in school.

2.8.2013 3

2.8.2013 11

playing: The kids absolutely LOVE all of the vintage Fisher Price toys I have collected.

2.8.2013 4

creating: New items for the shop and for our home. It fuels my soul to create.

2.8.2013 1

2.8.2013 5

savoring: Moments like these. Holding little hands will only last for so long. I cherish every moment.

2.8.2013 6

trying new things: Sewing a doorway puppet theater. This was my second attempt (the first one was tossed because the striped fabric was going to give me a migraine). The third attempt turned out much better…after we added a second tension rod at the bottom of the “stage”.

2.8.2013 7

building: I bought a bunch of cups at Costco. Reece just started stacking…and stacking…and stacking. They played with these for hours…together…not squabbling (who doesn’t love Charlie and Lola?!).

2.8.2013 8

home is…a weeks worth of activities.