a walk down memory lane

some old photos of the kids rooms popped up on my facebook memories yesterday.

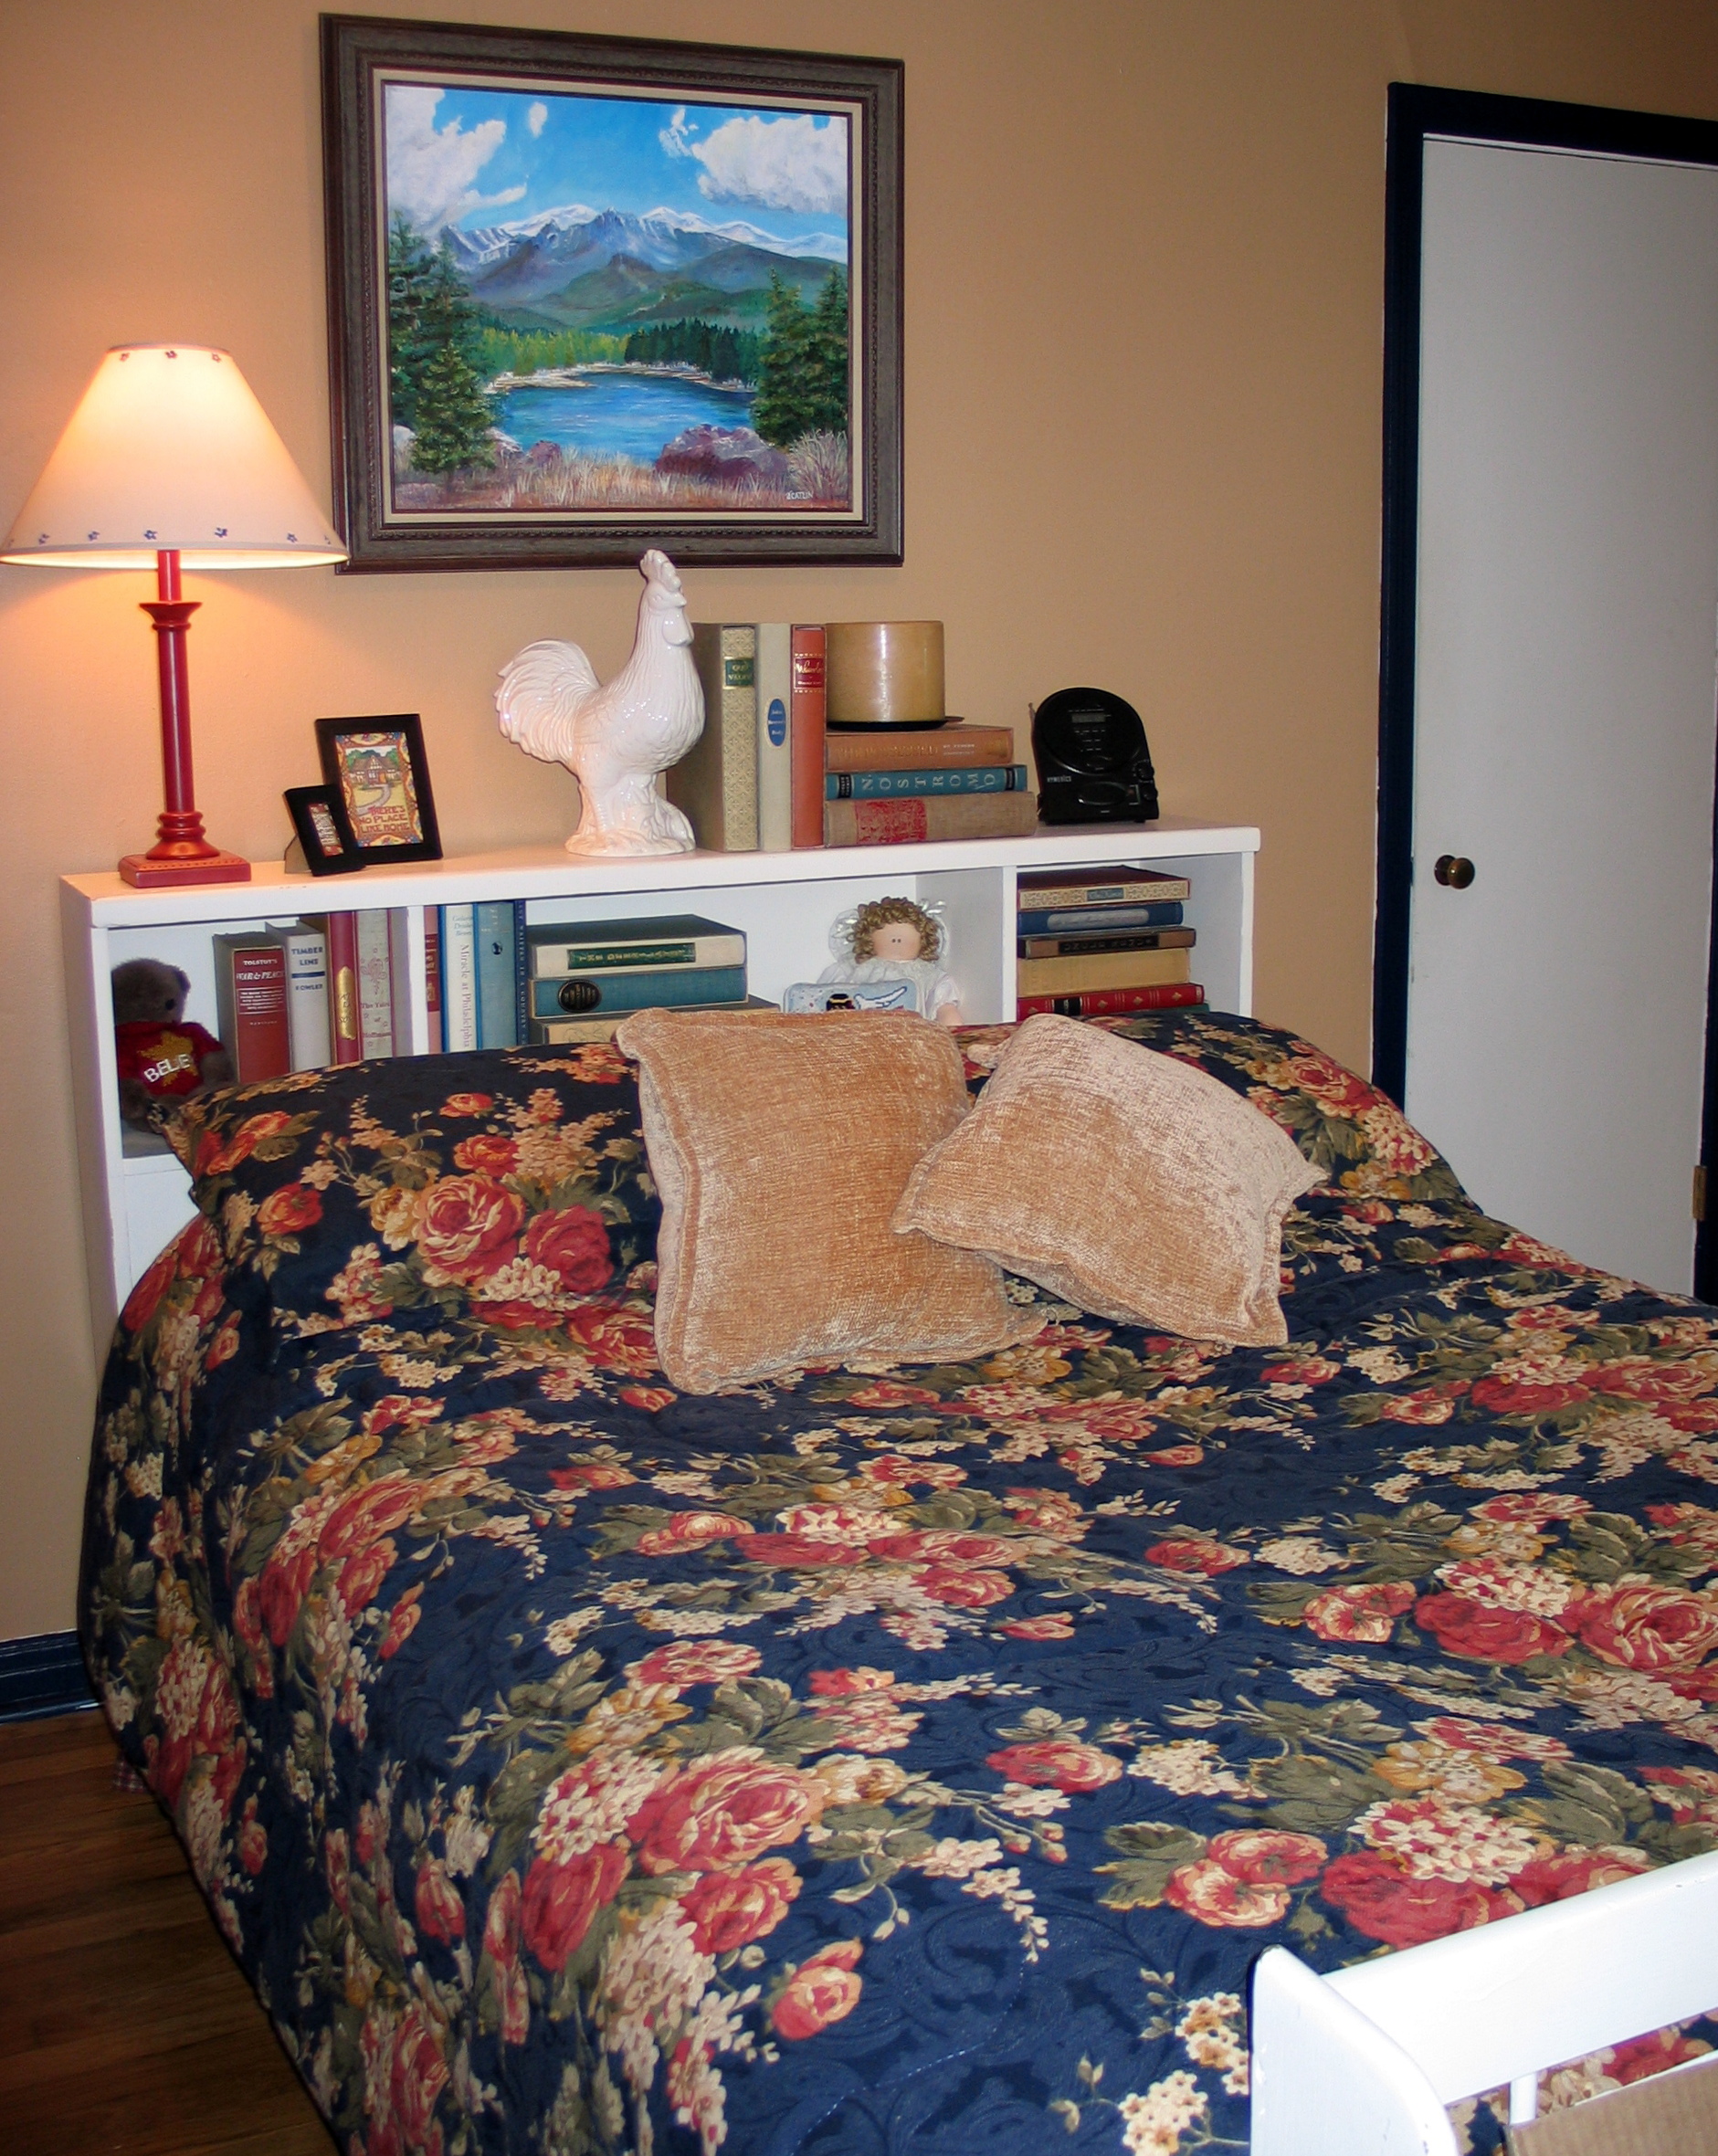
the photo below is baby girls room in january 2013. the tissue paper flowers were from her 1st birthday party in 2010! they hung in our playroom for a few years and then i added them to her bedroom.

i also made the paper bag sunflowers.

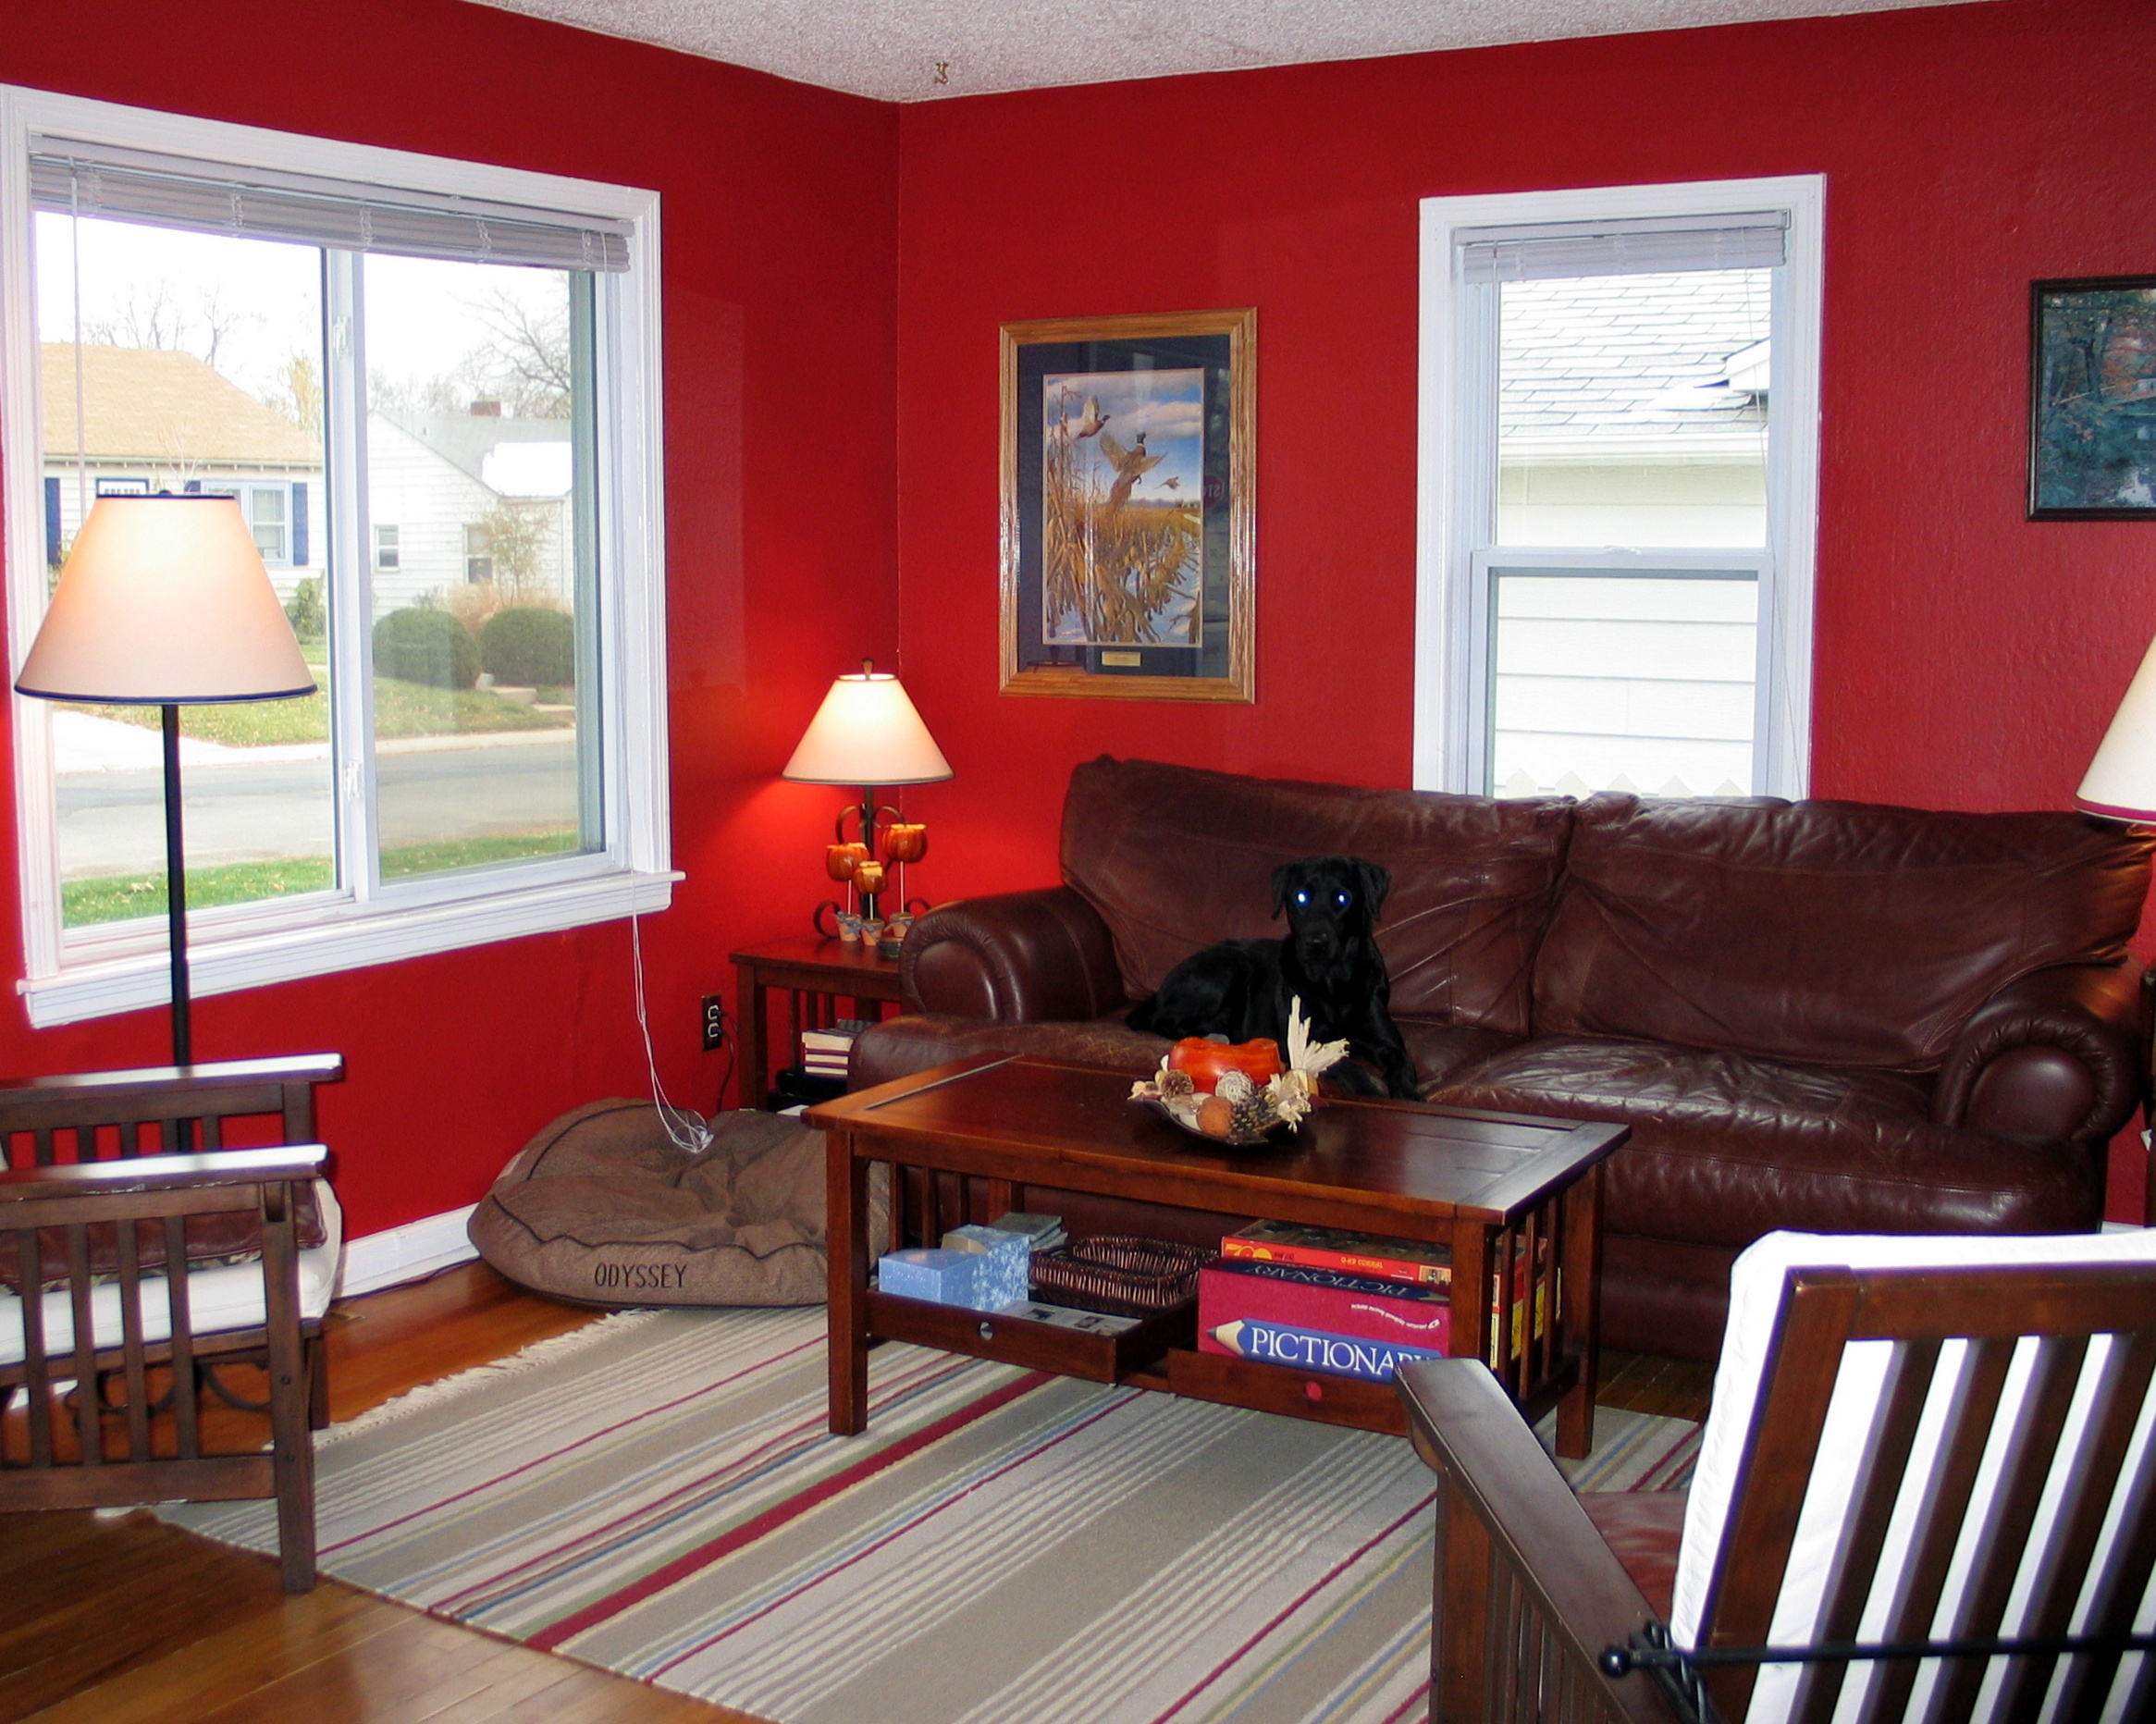
five years ago, when baby girl was only 3, i could do pretty much whatever I wanted to do with her room. i had fun playing around with DIY decorations, thrifted items, and some of the artwork i had in her baby room.

a couple years ago we ended up having the kids switch rooms. i think i ended up moving all the furniture by myself one day when ryan was out of town. i remember it being really messy and hard and wondering why i decided to do it.

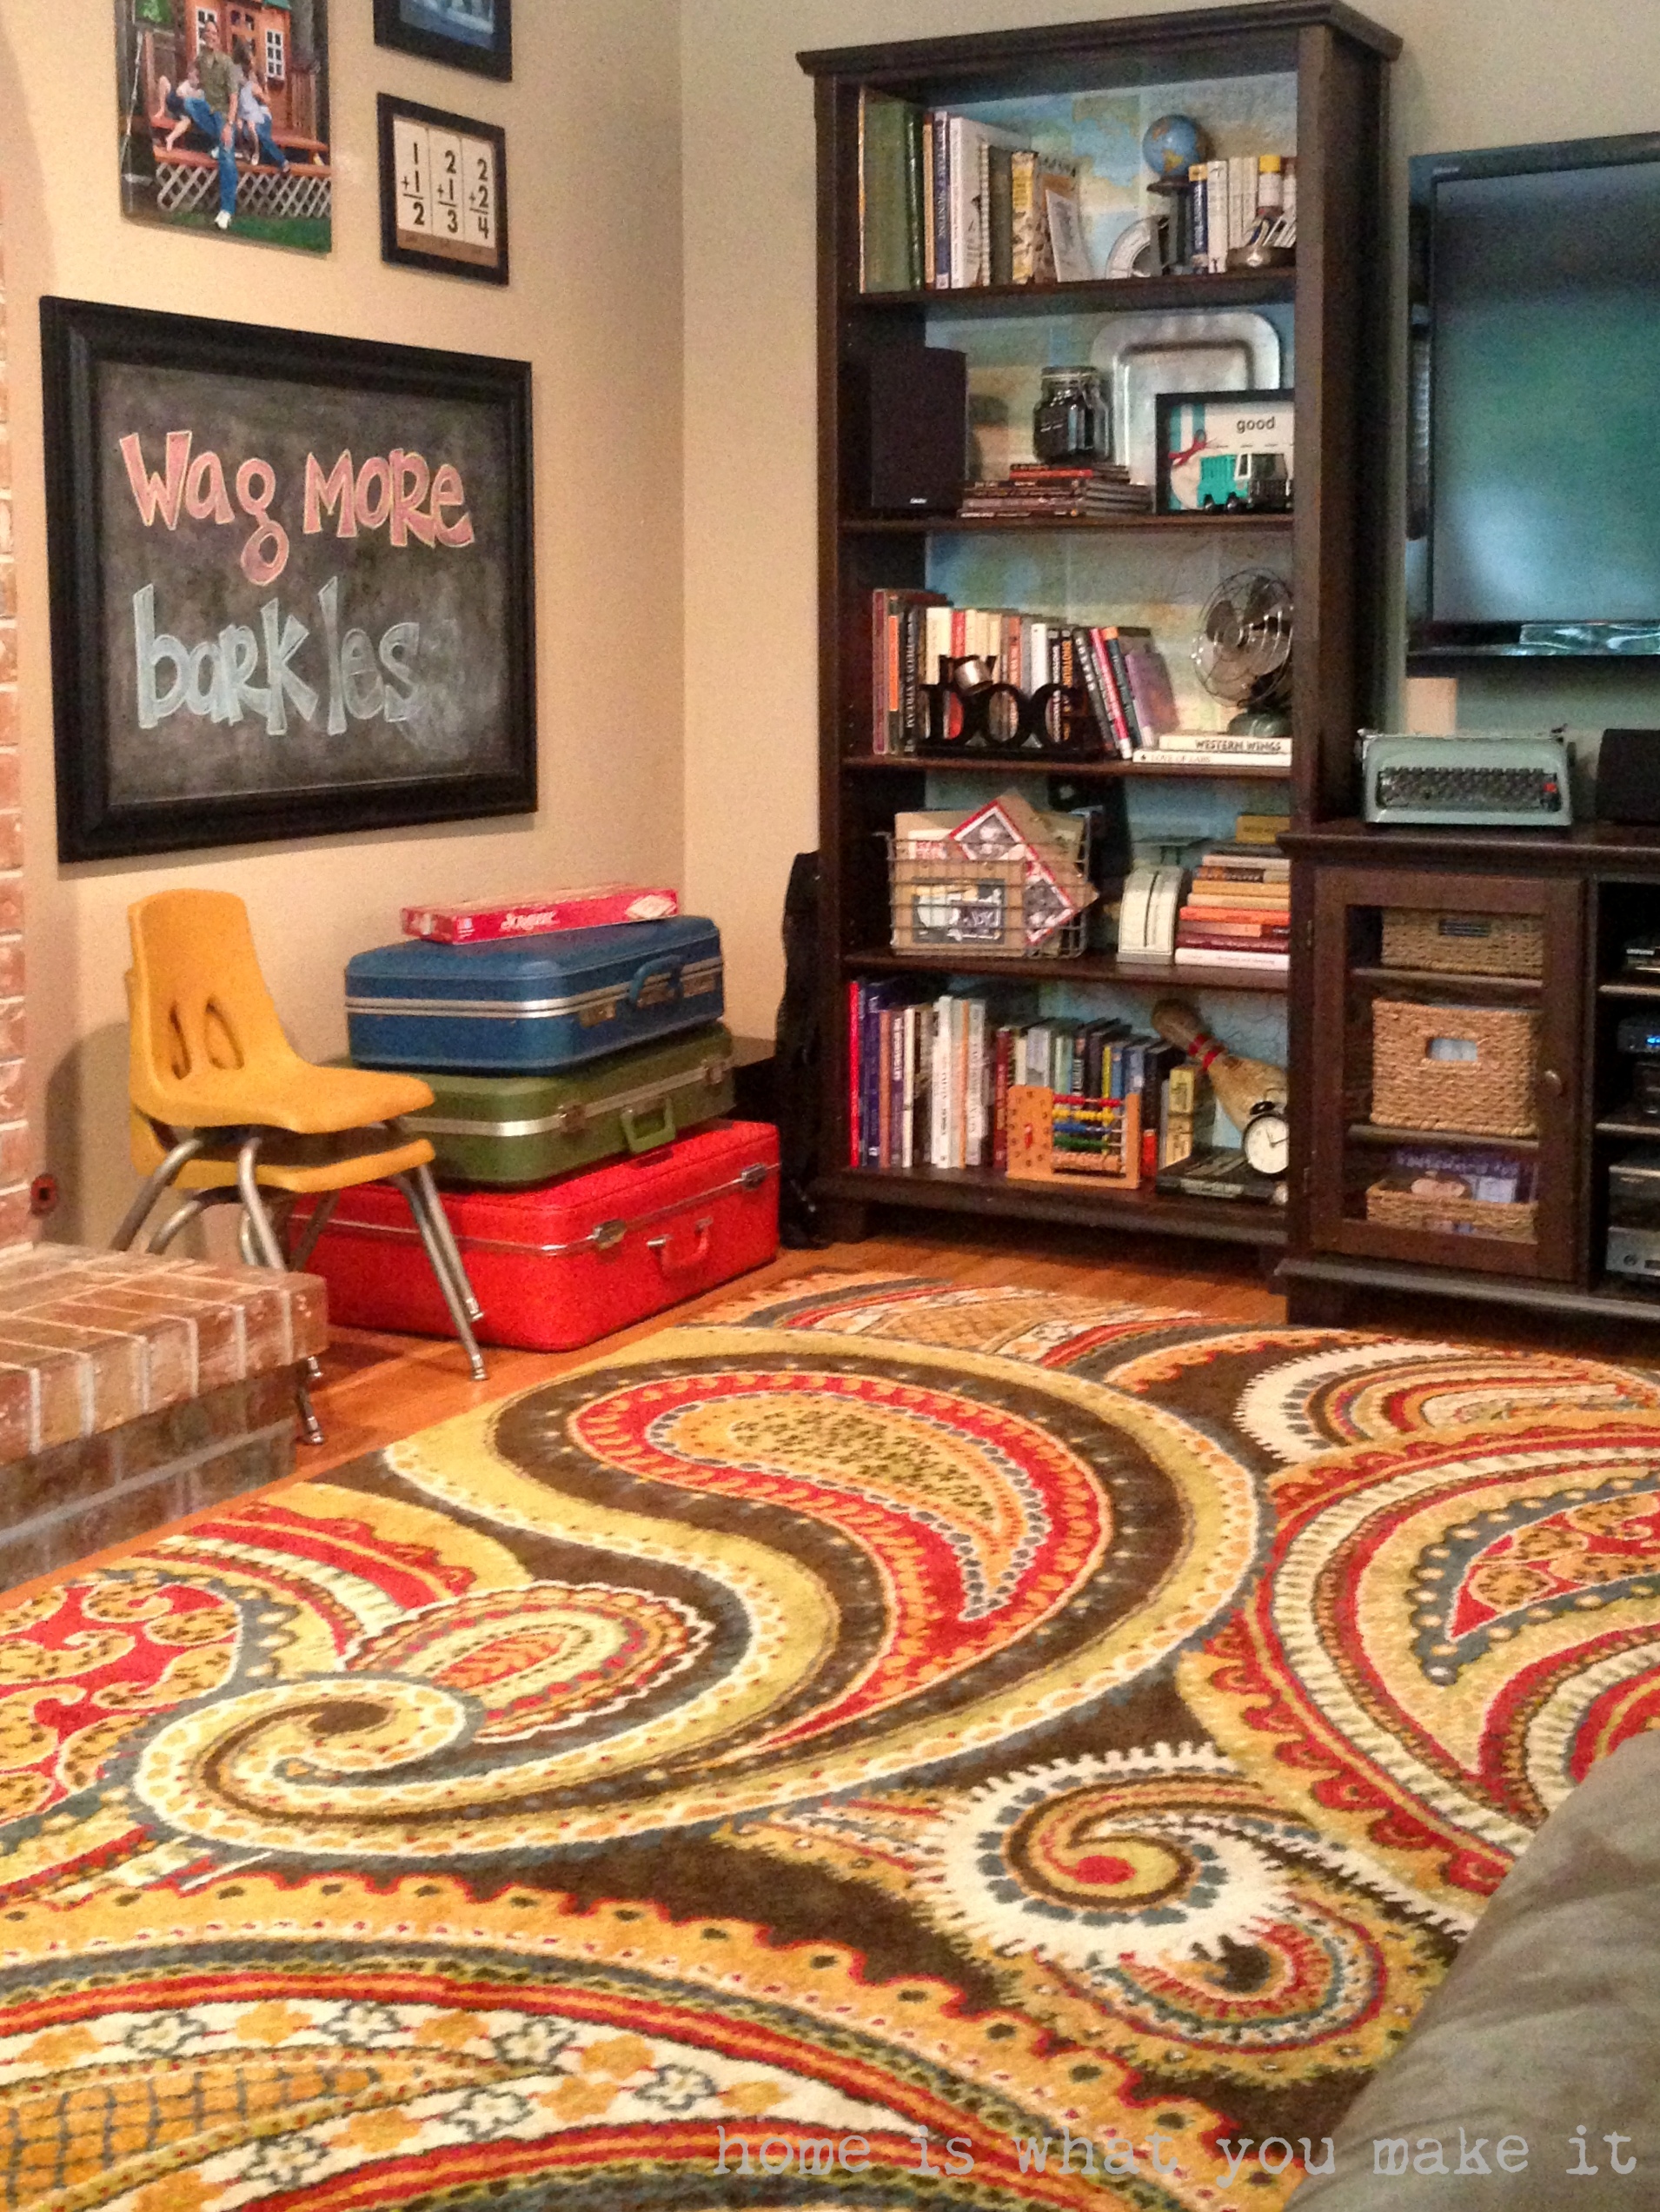
the following photo is one i took on my phone this morning. totally not staged for a photo shoot, but a comparison.she loves pigs, so she dictates the design of her room now…i just add bits and pieces when she lets me.


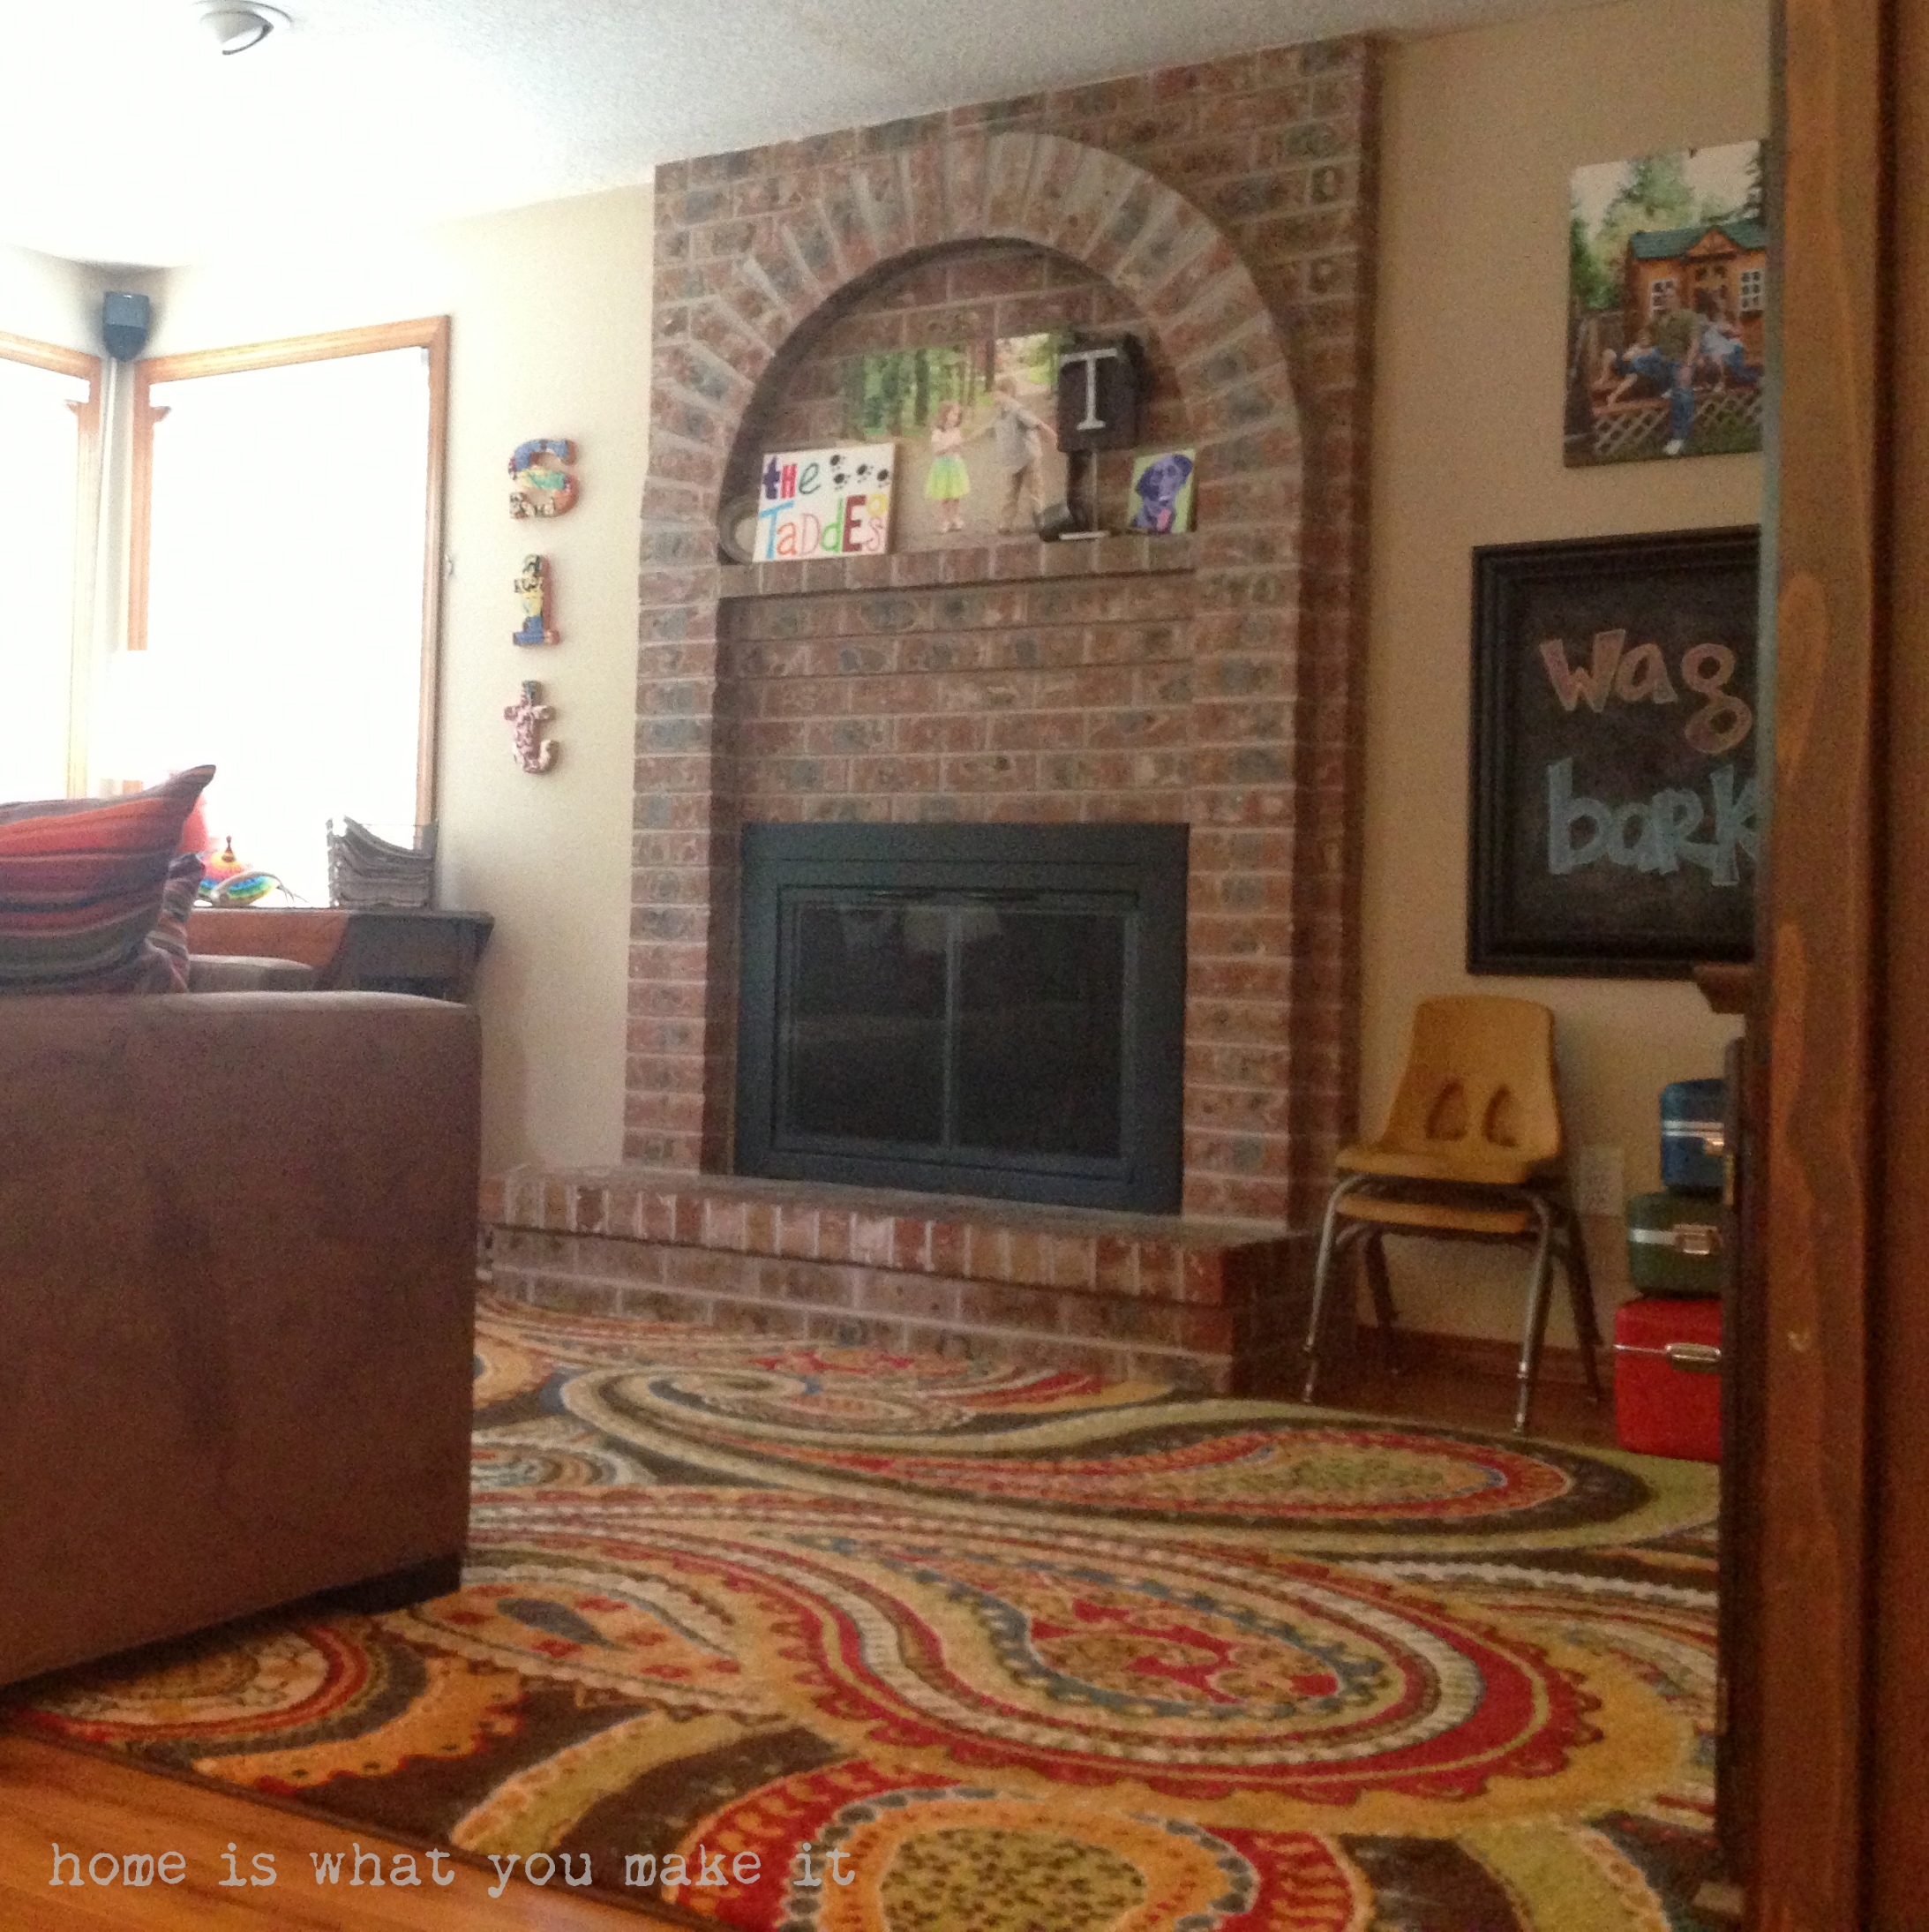
the photo below is in the same room as the photo above, but it was the little guys room 5 years ago.

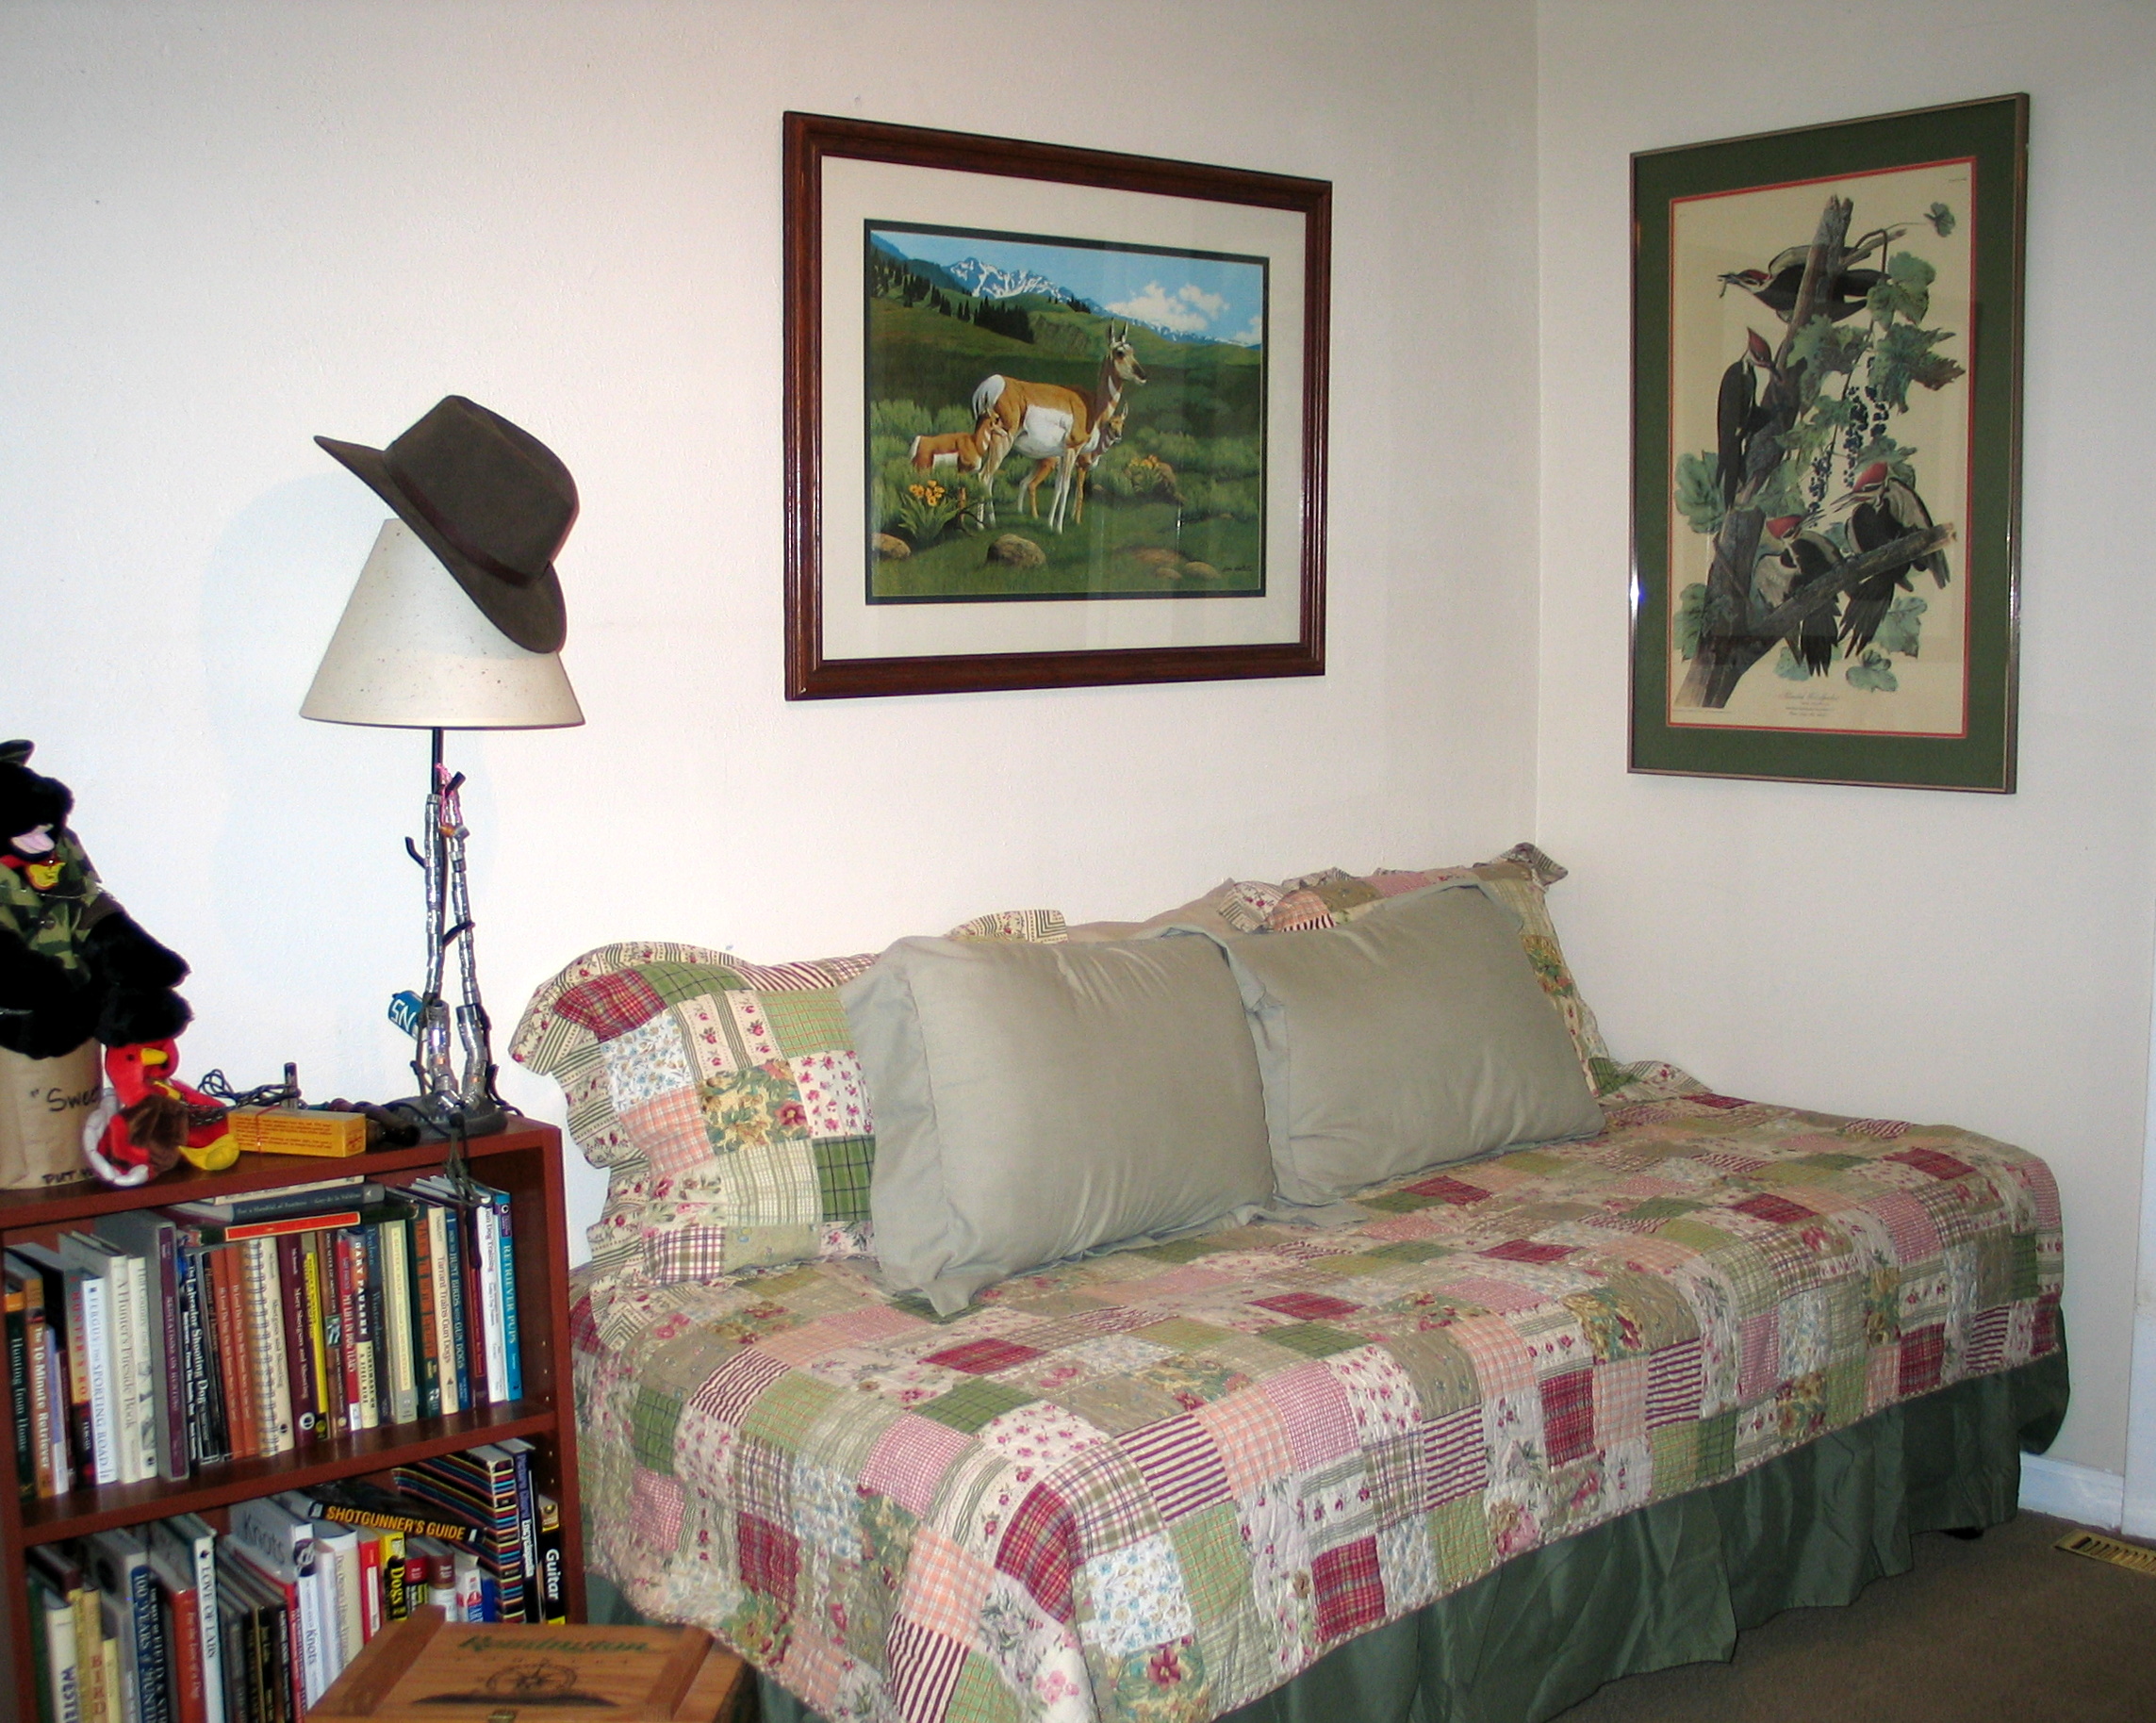
he was 5 and loved everything batman.

the decorations on his wall next to the bed were from his golden birthday party that was a super hero theme.

i had a love/hate relationship with his bunk/twin beds. we traded them out for a full bed a few years ago and there are some rare occasions when i wish we had held onto the twin beds (like when we have visitors and i wish the kids could just sleep in the same room together).he is now in baby girls old room. they each got to choose an accent wall color when we had our house repainted in 2016. his favorite color is purple.

he is a little more easy going when it comes to the decorations in his room. i was able to repurpose some dog prints that we used to have in our family room. it love how it worked out because on the wall to the right of the photo i found a decal that is a lab carrying a lacrosse stick. you can also see the pillow on the bed with max the lax dog.  the lacrosse storage organizer is from pottery barn, but is used to display a vintage lacrosse stick that my dad gave him, and a pair of gloves from a former professional lacrosse player. he says it’s one of his favorite parts of his room.


i am hoping to write more posts that are interiors related this year as i also hope to start doing design work for clients here in the portland metro area.

what kind of posts would you like to see more of this year?

i’d love to hear your requests and comments!!

{gallery wall} take one

It was fun to revisit an old post yesterday, so I am doing it again today…this one is from June 2011!

I’ll have to do an update because, of course, things have changed a bit. However, the majority of this gallery wall has stayed the same!


Our walls have been bare for almost 4 years in this house.

I put something up for a short time and then find that I am not happy with it.

As you may have read, when I get frustrated I move furniture, but hanging art on walls just makes me frustrated. It’s a vicious cycle.

Hanging artwork seems permanent to me…which means I can’t move furniture around.

Now that our furniture is finally placed where I am happy with it (for now) I have wanted to hang some artwork on the walls. Ideas have floated around in my head from photos I have seen on other blogs and Pinterest. Nothing really forced me to put any holes in the wall, though.

Recently, we have been talking about getting the walls in our house painted. I would like to make holes in the walls pre-paint so that the painter can patch any mistakes and our walls with be nice and clean.

Then it all started with this…

We had this photo taken over a year ago and I finally ordered a wrapped canvas with a coupon I got from Sharing Spree.

I was thrilled when I received it and decided I had better put it up on the wall!

So, one afternoon, I just started hanging my black frames. Some already have photos in them, some need updated photos, and some just need photos!

This is a tall wall in our entryway. Below it is a bench that I have had since I was a little girl. This is where the kids keep their shoes, etc. It faces our playroom, which also has artwork with black frames including a large bulletin board which displays the kids artwork, Christmas cards, or other fun things depending on the time of the year.

Of course, after I got everything up on the wall I found about five more frames to add, and  have Ryan’s Father’s Day gift to hang up on the wall.

The good thing is that there are more walls or more room on this wall!

The other good news is that I have started to put holes in the walls. Now I just need to continue with all the original artwork we have stored in our attic and some other prints that I would like to get framed.

Wish me luck!

home is…making progress on wall at a time.

*linking up with Tatertots and Jello

why i pin a pillowcase up on the wall

in november we finally got around to painting our bedroom.

a long overdue home project.

we painted it the same white that we have been using throughout our home. it all started when i got the crazy itch to paint the walls in our kitchen, that then turned into the cabinets, that then turned into the hall, that then turned into the entry, playroom, and upstairs hall.

each time i painted, i also got crazy hives on my hands…a reaction i have had all my life when my body doesn’t get along with something well.

painful welts that itched and burned…on the palms of my hands, between my fingers and up and down my fingers! it hurt to do anything with my hands, and nothing would help except to not paint again.

i wore gloves, and i would still get hives.

needless to say, i wanted to get the bedroom painted as quickly as possible and be done with the paint.

once the room was done, we also got rid of our bulky headboard. so, our bed was (and is now) pushed up against the freshly painted wall.

well, all of my hives eventually settled down except for the pinky finger on my left hand and the ring and pinky finger on my right hand.

i thought it was bug bites.

i thought my skin was just dry from the cold dry december we were having.

i tried benadryl.

i tried steroid cream.

i tried antibiotic cream.

i tried extra moisturizer.

nothing worked.

this all started in november and lasted until sometime in january when i finally figured out.

one saturday morning my hands were hurting and i took some benadryl and went back up to bed.

i’m a stomach sleeper and put my arm under my pillow. when i did this, my hand touched the freshly painted wall.

my left pinky rubbed against the wall when i faced right and my right pinky and ring finger rubbed against the wall when i faced left.

exactly where my hives were.

the paint.

even the DRY paint was giving me the same hives that i got each time i painted a new room in our home.

the thing is, when we first moved into this house i made sure to use low-voc or no-voc paint. i cared about what we were breathing in…i didn’t want our babies breathing in toxic fumes.

8 years later, i just wanted to slap up paint that would stick…and be easy. so, i chose a paint with the primer…talk about lots of chemicals. {i’m not going to get into which paint, because i don’t even know WHAT chemical i react to}

it’s no wonder that my hands were reacting WHEN i was painting, but when i realized that it was still causing a reaction, just from contact, when it was DRY.

wow.

and, what about all the off-gasing that has been happening in our home for the last two years?!

ugh.

IMG_9147

so, now i pin a pillowcase up on the wall until we figure out our headboard situation.

the timing worked out great, and my young living premium starter kit showed up at the end of december. i have been diving into all of the uses for them…including detoxing our home.

i am back in the game as far as “green” interiors are concerned. thrifting, reuse, recycled and  sustainable materials are all back on the plate. and i will be sharing information about them here.

we don’t have a lot of control over things in this world, but we DO have control over what happens in our homes.

let’s keep them healthy.

i can’t wait to share more of this journey with you.

home is…taking control of the health of your home.

hippie at heart

when i first started this blog…actually, it was another blog, that turned into another blog, that turned into this blog, but i digress…

when i first started blogging it was because i missed my job in interior design and wanted to keep my feet in the world of design…particularly green design.

recently, my husband mentioned to my daughter that i was a hippie (he actually said that i am “37.5% hippie”). i responded to him that i have been thinking the same thing lately.

you see, i’ve always been a hippie at heart. born in boulder, colorado in 1975, it was bound to happen.

i went college in boulder in the 90’s and received a bachelors degree in environmental studies. it boggles my mind that some of the information that is FINALLY becoming mainstream (facts about GMOs, plastics, organic food, etc) are what we were studying 20 years ago in my classes, but it was considered extremist back then.

i ended up going back to school in 2000 to earn a degree in interior design. when i graduated in 2003 my final project was focused on residential green design.

at any rate, green design is in my hippie blood, and it’s here to stay.

i have some stories to share and some learning to do, so i’m going to do it here.

first, i am working on earning my Green Classroom Certificate. i spend a lot of time in my kids classrooms and would love to be a able to help educate the teachers and staff on how they can make the classrooms environmentally safe for our children.

second, i will be working on becoming a REGREEN Trained Professional. this is where i hope to focus my business in the future (when both kids are in school this fall). i am excited about this program and hope to share more information as i go through it.

third, i have recently become an independent distributor for young living essential oils. the chemicals in our environment and that we put into our body can wreak havoc on our health…mentally and physically. i hope to implement essential oils into every aspect of my daily life and share with you in the journey. if you are interested in more information please contact me at youngliving (at) stephanytaddeo (dot) com.

YLEOC - stephany taddeo

i am excited to get back to my roots…what i am passionate about. and, you can be sure there will be more creating and thrifting involved in this journey…both are integral parts of my green living.

home is…living green.

first friday of fall

Just a bit of random for this first friday of fall…

their personalities

This photo captures their personalities perfectly…

  • she: little miss happy
  • he: mr. serious

their personalities

glow

I leave the blinds open and the lights on in our front room a little past dark these days. I love looking in at the warm glow of houses.

glow

in print

You can find  my Globe Pendant Light tutorial in the October 2014 issue of Old House Journal. {just click on the link or photo to see the online version}

in print

little guy & mommy day

We don’t get a ton of one-on- one time, so when he has a day off from school when baby girl is in school I try to make it extra special.

cabelas

We visited the brand new Cabela’s store just a few miles from our house. Believe me, he was more excited than he looks in the photo…just a little overwhelmed by all the stuff to look at!

baggenstos2

Then off to the farms.

baggenstos4

We stopped for apples and pumpkins.

baggenstos3

He is a super cool kid to be around…especially one-on-one. I am really having a fun time watching him grow up.

31 days

Next month I am joining a writing challenge that was started by The Nester. For 31 days I will write everyday about second hand, created, or thrifted items in our home…that you can create or find for your home, too!

{31 days} button

Join me beginning October 1st everyday through the month of October!

We’re headed to the local high school Homecoming Parade and Football game tonight. A little Friday Night Lights on this First Friday of Fall.

home is…some random fun on this first day of fall.

{through the rearview} 1407

Fifteen years ago Ryan and I decided to buy a house together.

1407 12It was this little house that was built in 1947 by the Army for soldiers coming back from WWII. Our next door neighbor, who called herself “Old Lady Bowden” had lived there since they had been built.

1407 3

We pulled up carpets.

1407 4

Painted every wall at least once.

1407 6

Had walls torn down and the kitchen remodeled.

1407 5

We had lots of fun parties here.

1407 7

I did lots of Interior Design school projects on that table (which is now our craft table).

1407 8

Murphy, Ben, Hobbes, Oak, and Odyssey…and four of Oak and Ben’s puppies all lived with us at this house.

1407 9

I used chalkboard paint on the walls in this house.

1407 11

Our bedroom was the remodeled one car garage.

1407 10

Ryan had his own den/office.

1407 2We had a dedicated guest bedroom.

It was a good house with good memories. We lived there for just over 6 years.

home is…our first home.

lighting up the world

Globes.

They are everywhere.

Really, they have been the last few years.

A few weeks ago mother in law emailed me asking if I had seen the February issue of Country Living because a project looked  similar to the globe lights I was selling in my etsy shop, colton+cadence, last year.

vintage globe lightcountry living::february 2014

When I finally got around to buying a copy it was similar, but not the same. {I love the idea of drilling the holes and may give this a try if I find a globe thirfting}

Then, when I flew to Colorado last weekend I picked up the new Vintage Style magazine and found another photo of a globe light just like the ones I was selling on etsy.

The fact is, I wasn’t the first one to come up with the idea.

I mean, I had it in my head, made one for a graduation gift a few years ago, and then started selling them on colton+cadence.

When I started selling them on etsy, there wasn’t anybody else selling them, but I did see a few photos of similar lamps on Pinterest.

There are still only a handful of shops that sell them and I am not sure why.

Maybe it’s because they are so easy to make on your own.

Anyway, they seem to be HOT right now, so I thought I would share my tutorial {originally posted in August 2013} on how to make them once again.

{diy} globe pendant light 1

It’s much like my tutorial for the mason jar pendant light, but easier!

Supplies:

  • globe
  • pencil
  • exacto knife
  • light kit (i get mine at IKEA)

{diy} globe pendant light 4

{diy} globe pendant light 3

How to:

1. Cut globe in half…most globes are made of cardboard or chip board and are put together as two pieces at the equator. You can cut along the equator with an exacto knife, but there usually a supporting ring of thick chipboard at the equator that you cannot cut through. I actually put pressure on the equator (with my hand, elbow, or knee) like you do with those pop open cans that cinnamon rolls come in. I do it all the way around the equator…careful not to crush the globe…and it usually comes apart on it’s own without any cutting!

{diy} globe pendant light 5

2. Trace around your light socket at the top of the globe and cut a hole with your knife. There is usually a metal ring in between the layers of the chip board at the top and bottom of the globe (where they usually attach to their stands). This is usually the same size as the socket, so if you hit metal, just cut to the outside of the ring and you should be OK.

{diy} globe pendant light 6

3. Insert your light kit into the hole and secure.

{diy} globe pendant light 7

4. Insert light bulb. I always use a low wattage (40 watt) or fluorescent bulb for safety since the globes are made of paper.

You can also embellish you globe on the inside or outside like I did with these…

{diy} globe pendant light 2

home is…making the world a little brighter.

{inspired} field trips

My old boss used to take us on field trips…grand adventures to look at fun stuff.

There were usually field trips within field trips and a crazy car ride to go along with it all.

It was always a good time…and usually ended with cocktails.

On Tuesday I took myself on a little field trip to Grand Marketplace in Southeast Portland.

It was fabulous.

grand marketplace 2

grand marketplace 3

grand marketplace 4

grand marketplace 5

grand marketplace 9

grand marketplace 10

grand marketplace 11

grand marketplace 12

grand marketplace 13

grand marketplace 15

grand marketplace 17

grand marketplace 19

grand marketplace 20

grand marketplace 22

grand marketplace 21

grand marketplace 1

grand marketplace 6

grand marketplace 7

grand marketplace 8

grand marketplace 14

grand marketplace 16

grand marketplace 18


Most of it is way out of my price range, but I absolutely love to get inspiration. Someday, I will be able to pick like these “professionals” or afford what they find.

Until then, I will keep visiting for inspiration.

If you live in the Portland area, you should go.

Also, if you live in the Portland area, what are some of your favorite places to go on inspiring field trips?

home is…field trips within field trips.

{our home} the rug

If you follow me on instagram this morning you got a sneak peek of the rug I picked for our family room.

If you don’t follow me on instagram, here is the rug…

rug 3

Last week I posted this photo on instagram…

rugand wrote a post with a link to my pinterest board with the rug choices.

rug 2

I made the choice I did for a few reasons:

1. Price…this is a huge rug at a great price on overstock.com

2. Color…while some of the lighter backgrounds would have made the room brighter, we have two black labs and young children…light rugs would have shown more dirt and hair

3. Pattern…the floral rugs are BEAUTIFUL and I had a hard time steering away from them, but I subject my husband to lots of flowers and “pretty” things…this is a rug in the room (other than his office) that he spends the most time in, so I wanted it to lean a bit to the masculine side.

rug 1

A grey day doesn’t help these photos much (I’ll have to get some better photos with good light), but I think the rug is perfect fit for grey days this coming fall and winter in the Pacific Northwest.

Can’t you just picture a fire in the fireplace, rain falling outside, and a football game on the TV?

Perfection.

home is…warm and cozy.

{our home} restyling

Thanks for your input on the rug…I promise to let you know which one I choose with a post here soon!

In the meantime I have been getting the house put back together…

restyling 1

Of course, it takes me longer than the “normal” person because I have to “restyle” everything as I put it away…in the kitchen.

restyling 3

Or, I decide to run to Target because our laundry room, which never had a rug, needs a cheery aqua rug!

restyling 4

Of course, trying to keep the kids entertained makes lots of new messes as we go along!

restyling 2

Ben needed a new rug by the back door so it wasn’t too slippery for his old legs (yeah, i need to clean the glass, too).

restyling 5

And, yeah, we needed a little back to school countdown decoration in the un-dining room.

So, you can see, it just takes me a bit longer to get things back to normal. We’re getting there…one mess at a time!

home is…always changing things up.

Follow my blog with Bloglovin