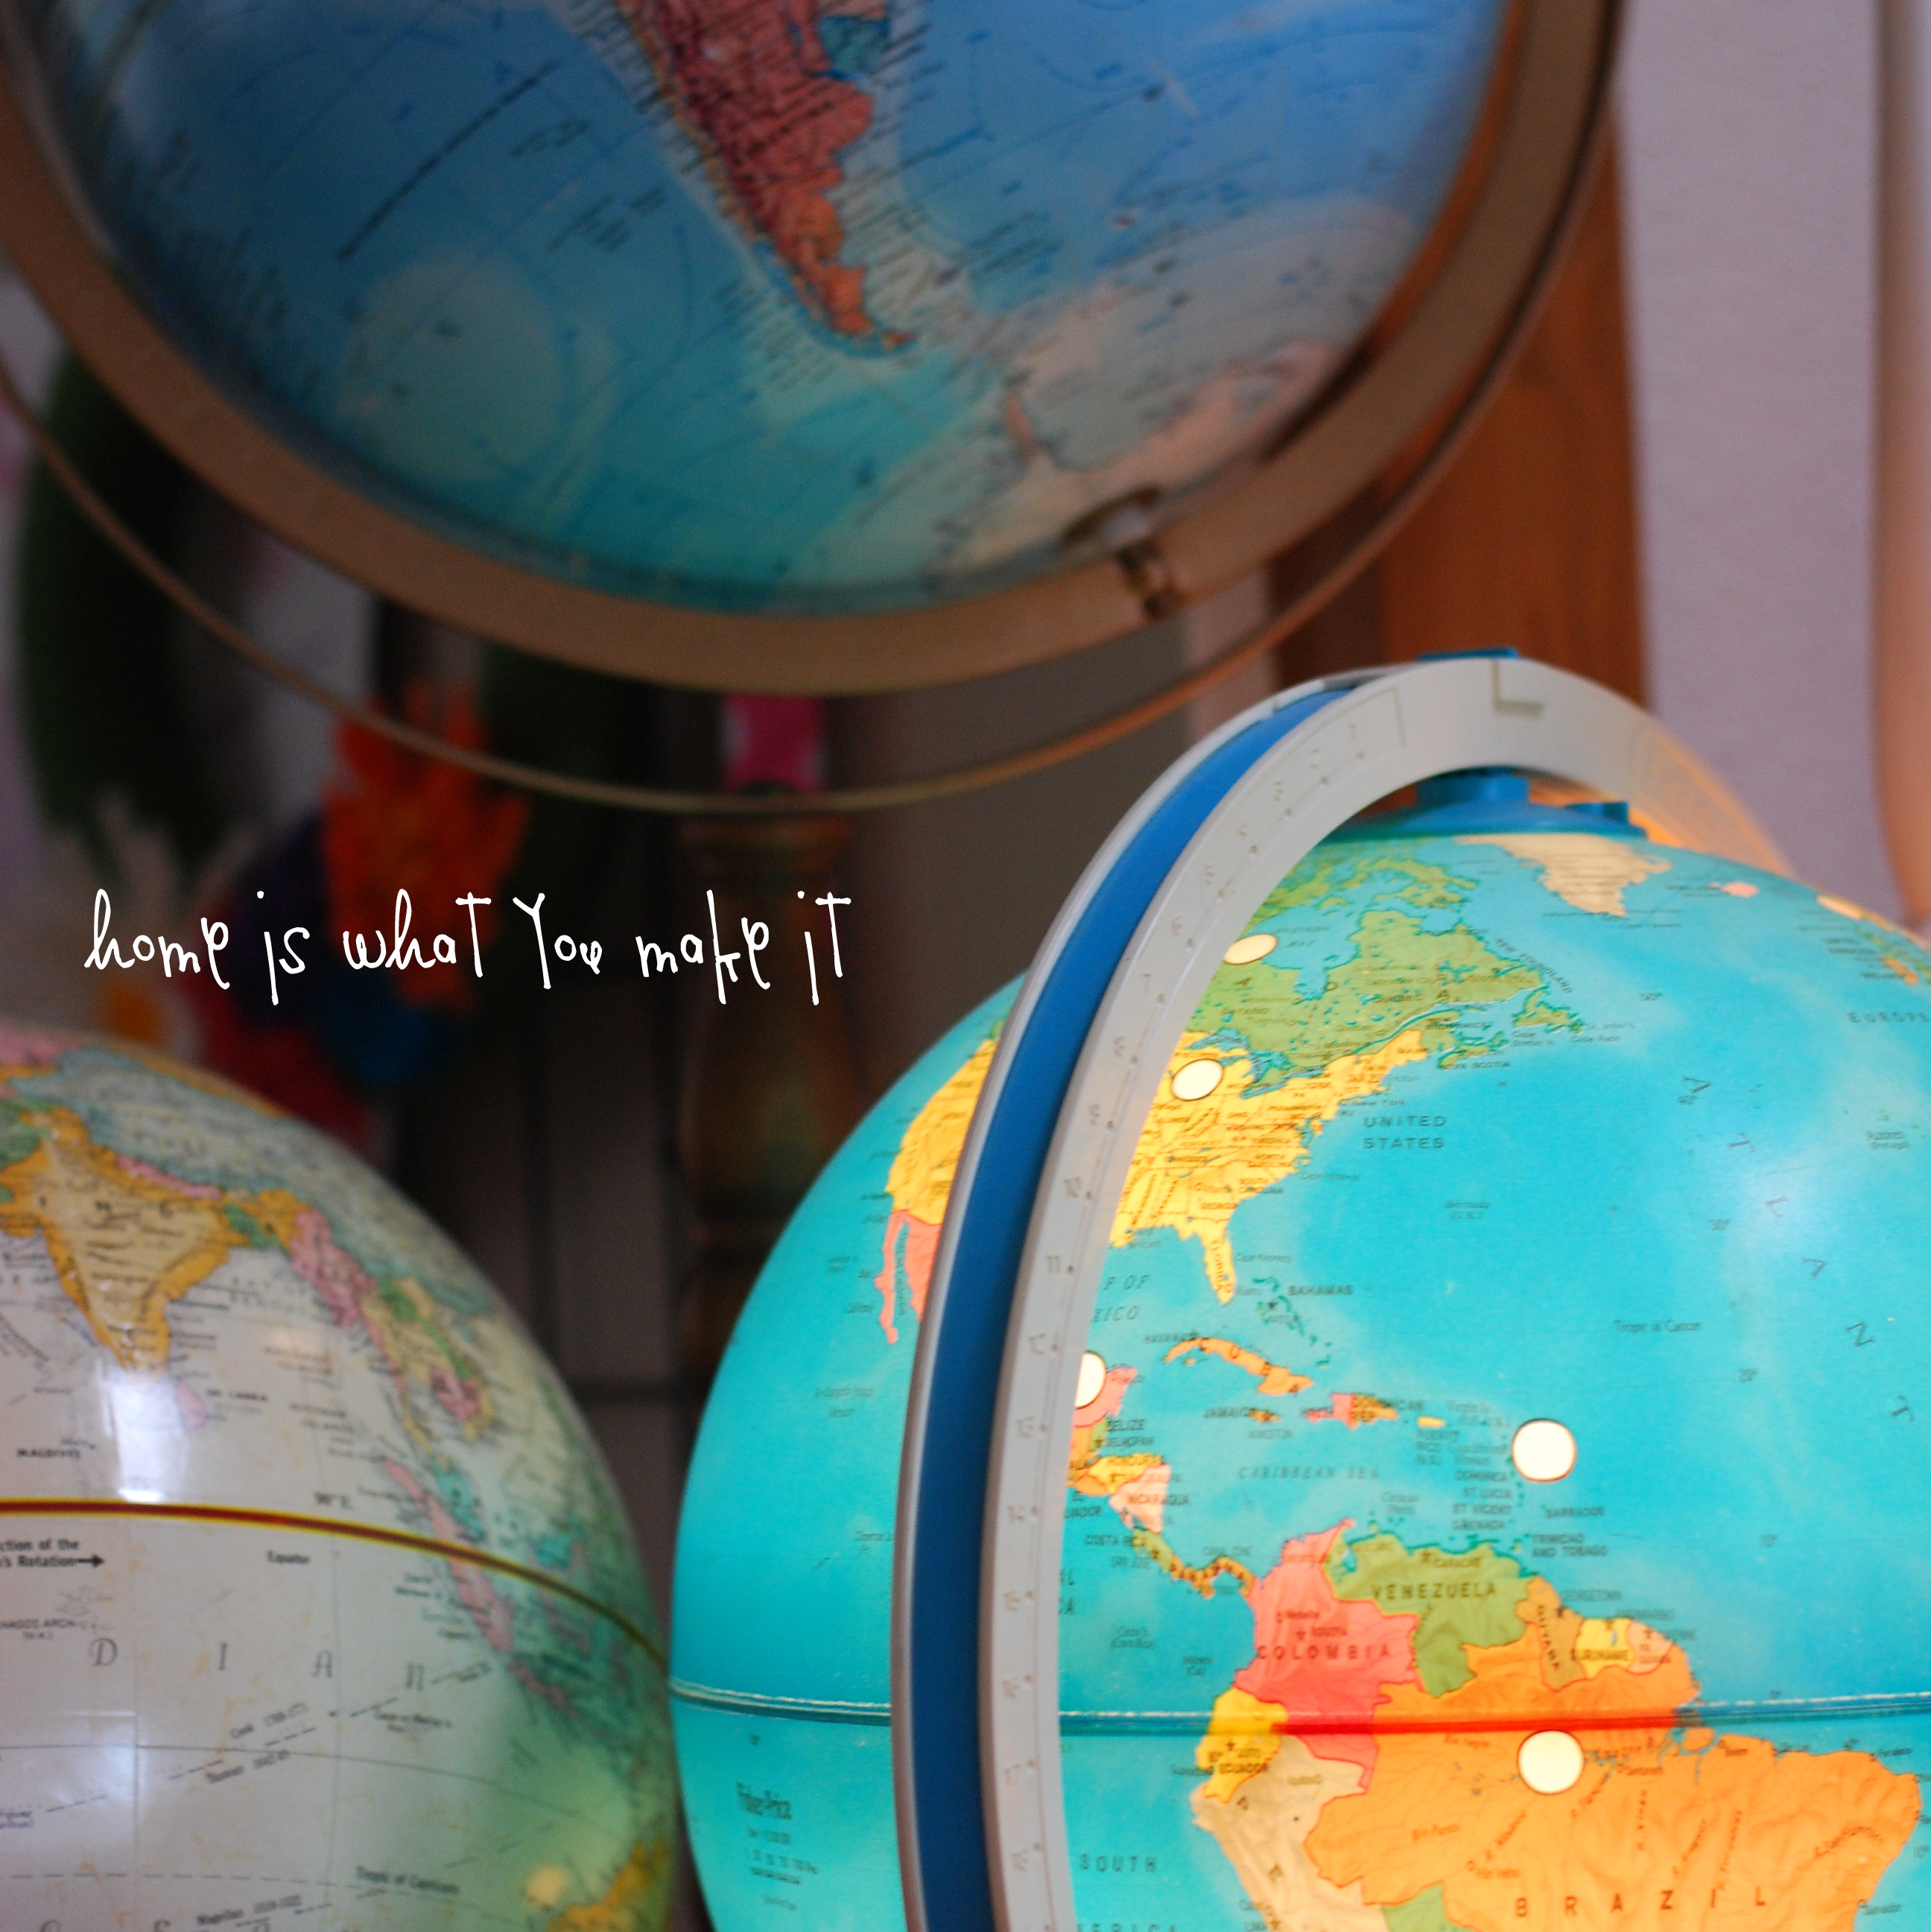
Globes.
They are everywhere.
Really, they have been the last few years.
A few weeks ago mother in law emailed me asking if I had seen the February issue of Country Living because a project looked similar to the globe lights I was selling in my etsy shop, colton+cadence, last year.
When I finally got around to buying a copy it was similar, but not the same. {I love the idea of drilling the holes and may give this a try if I find a globe thirfting}
Then, when I flew to Colorado last weekend I picked up the new Vintage Style magazine and found another photo of a globe light just like the ones I was selling on etsy.
The fact is, I wasn’t the first one to come up with the idea.
I mean, I had it in my head, made one for a graduation gift a few years ago, and then started selling them on colton+cadence.
When I started selling them on etsy, there wasn’t anybody else selling them, but I did see a few photos of similar lamps on Pinterest.
There are still only a handful of shops that sell them and I am not sure why.
Maybe it’s because they are so easy to make on your own.
Anyway, they seem to be HOT right now, so I thought I would share my tutorial {originally posted in August 2013} on how to make them once again.

It’s much like my tutorial for the mason jar pendant light, but easier!
Supplies:
- globe
- pencil
- exacto knife
- light kit (i get mine at IKEA)


How to:
1. Cut globe in half…most globes are made of cardboard or chip board and are put together as two pieces at the equator. You can cut along the equator with an exacto knife, but there usually a supporting ring of thick chipboard at the equator that you cannot cut through. I actually put pressure on the equator (with my hand, elbow, or knee) like you do with those pop open cans that cinnamon rolls come in. I do it all the way around the equator…careful not to crush the globe…and it usually comes apart on it’s own without any cutting!

2. Trace around your light socket at the top of the globe and cut a hole with your knife. There is usually a metal ring in between the layers of the chip board at the top and bottom of the globe (where they usually attach to their stands). This is usually the same size as the socket, so if you hit metal, just cut to the outside of the ring and you should be OK.

3. Insert your light kit into the hole and secure.

4. Insert light bulb. I always use a low wattage (40 watt) or fluorescent bulb for safety since the globes are made of paper.
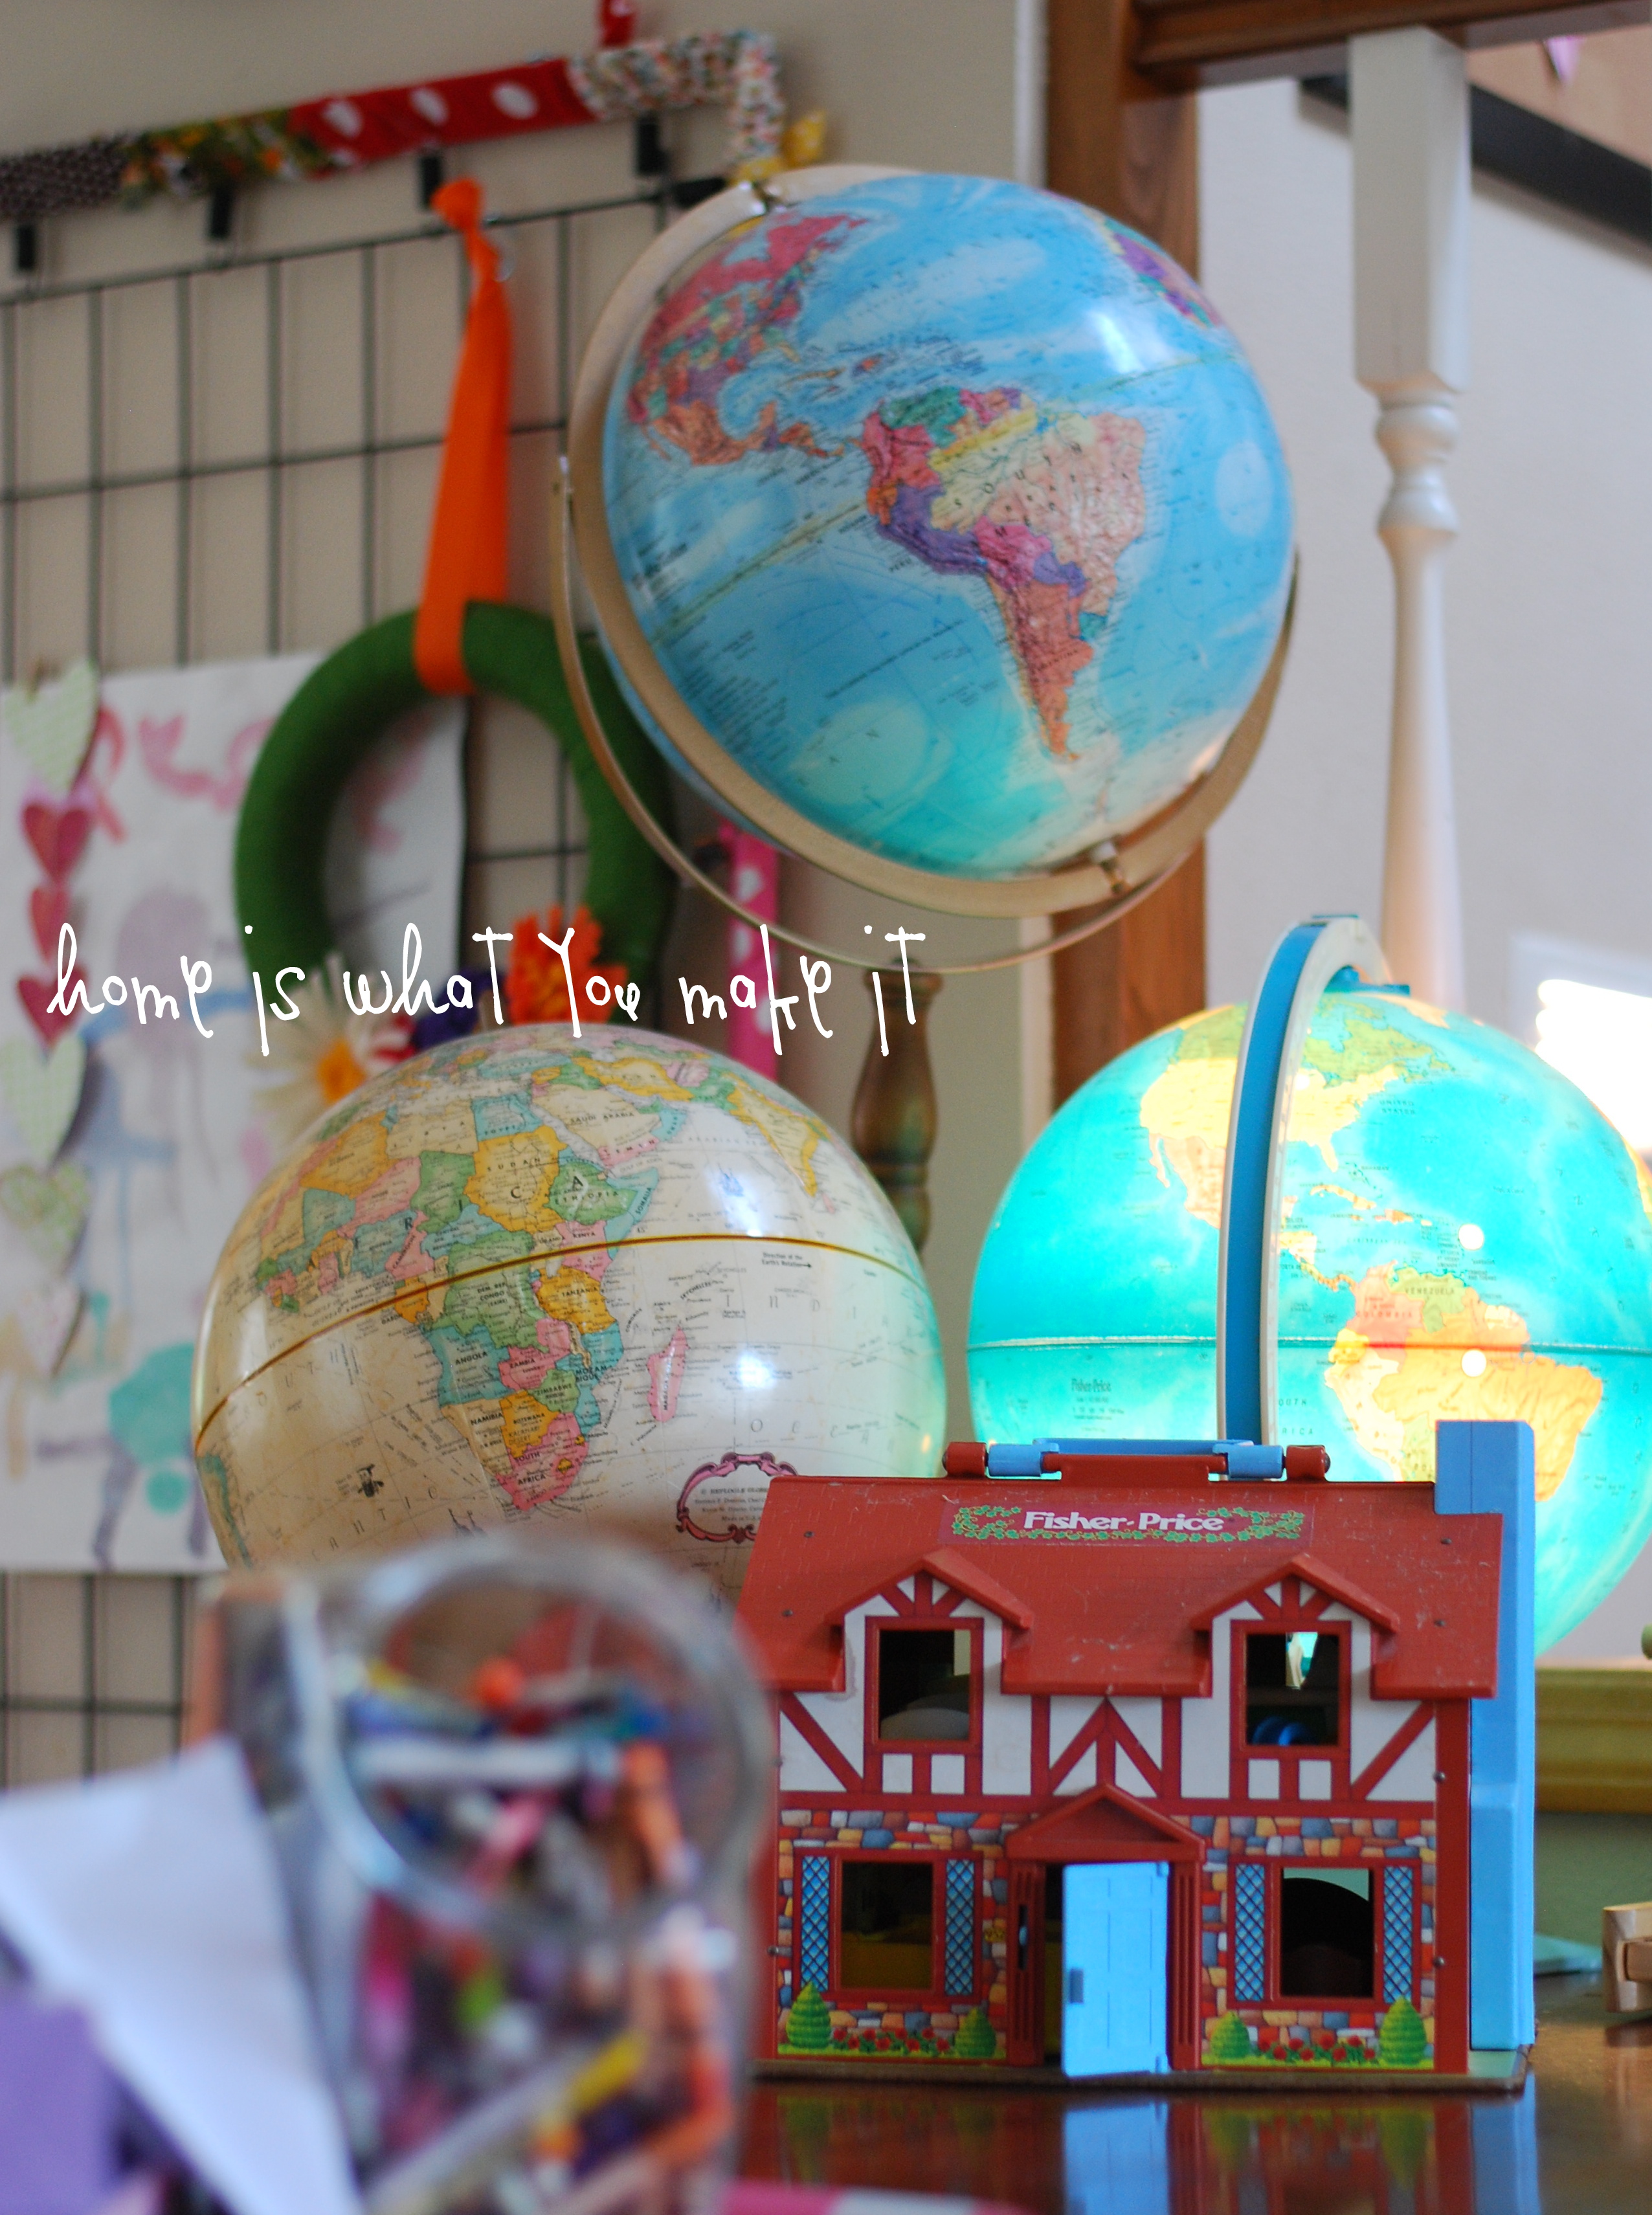
You can also embellish you globe on the inside or outside like I did with these…

home is…making the world a little brighter.